Canning Tools That Prevent the Biggest Messes and Mistakes
Canning, Home Food Preservation, Beginner Tips
Canning Tools That Prevent the Biggest Messes and Mistakes
As an Amazon Associate I earn from qualifying purchases.
Canning days don’t have to mean chaos on every burner, sticky counters, and mystery jars hiding in the pantry. With a few smart tools, you can make home food preservation calmer, safer, and much less messy—especially if you’re a busy home cook or brand‑new canner trying to squeeze projects into real life. All recommendations here assume you are using tested recipes and approved USDA/NCHFP processing methods only; tools are helpers, not shortcuts around safety rules.
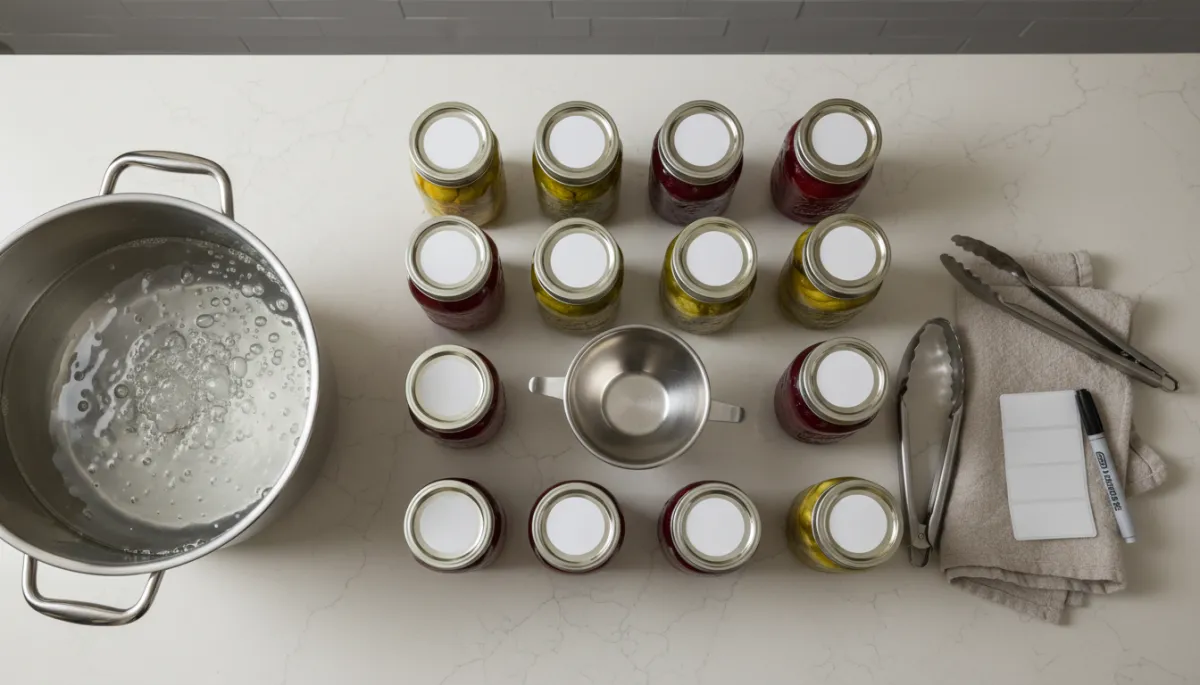
Stress-Less Canning Days
Simple tools that prevent the biggest messes and mistakes
First, a Quick Safety Grounding
Before we get into tools, a reminder: safe canning starts with tested recipes and approved equipment. The USDA and National Center for Home Food Preservation (NCHFP) stress that you must:
Use research-based recipes from USDA, NCHFP, Ball, or Cooperative Extension, not random social posts.
Process high-acid foods (jams, jellies, pickles, properly acidified tomatoes) in a boiling-water canner, and low-acid foods (vegetables, meats, soups) in a pressure canner only.
Avoid unsafe methods like oven canning, dry canning, or dishwasher “canning,” which USDA and NCHFP specifically warn against.
The tools below won’t change processing times or methods—but they can help you hit those safety targets more consistently while keeping your kitchen under control.
1. Too Many Pots Taking Over the Stove
The frustration: You’ve got a pot of jam, a water bath canner, a kettle to top up water, maybe another pot of brine—and suddenly there’s no room to cook dinner or even move safely. This clutter also makes it easier to knock over hot liquids or lose track of which pot is at a full boil for safe processing.
The tools that help:Multi-purpose water bath canner + heat-safe prep containers. A deep stockpot or water bath canner with a rack can double as your main “big pot” for blanching and par-cooking before you ever start processing. Pair it with a couple of large, heat-safe mixing bowls or measuring pitchers for holding hot brine or jam off the stove instead of in extra pots. Many starter kits include a rack and tools in one box — Shop the water-bath canner, glass measuring cup, or seven-piece tool kit.
💡 Pro Tip: Set up a “staging zone” on the counter with bowls and pitchers so only two burners are in use: one for your canner, one for your recipe pot.
Who needs this: Busy cooks in small kitchens, anyone canning on a weeknight, and beginners who feel overwhelmed by multiple burners going at once. If you regularly cook and can in the same time window, this setup can make the whole day feel calmer.
When to skip: If you already own a deep, flat-bottomed stockpot that fits a canning rack and you only can occasionally, you may not need a separate canner yet. Just make sure it’s tall enough to keep 1–2 inches of boiling water above the jars, as USDA and NCHFP recommend for safe water-bath processing.
2. Lifting Hot Jars Without Fear (or Burns)
The frustration: You’ve processed your jars, the timer finally dings, and now you’re trying to fish slippery, boiling-hot glass out of deep water. Regular tongs twist, jars tilt, and your heart rate spikes every time one knocks into its neighbor.
The tool that helps: A dedicated jar lifter. Jar lifters have curved, rubberized grips that hug the jar neck more securely than standard kitchen tongs, so you can lift straight up and out of boiling water with better control. Many starter kits bundle a jar lifter with other essentials — Shop the jar lifter.
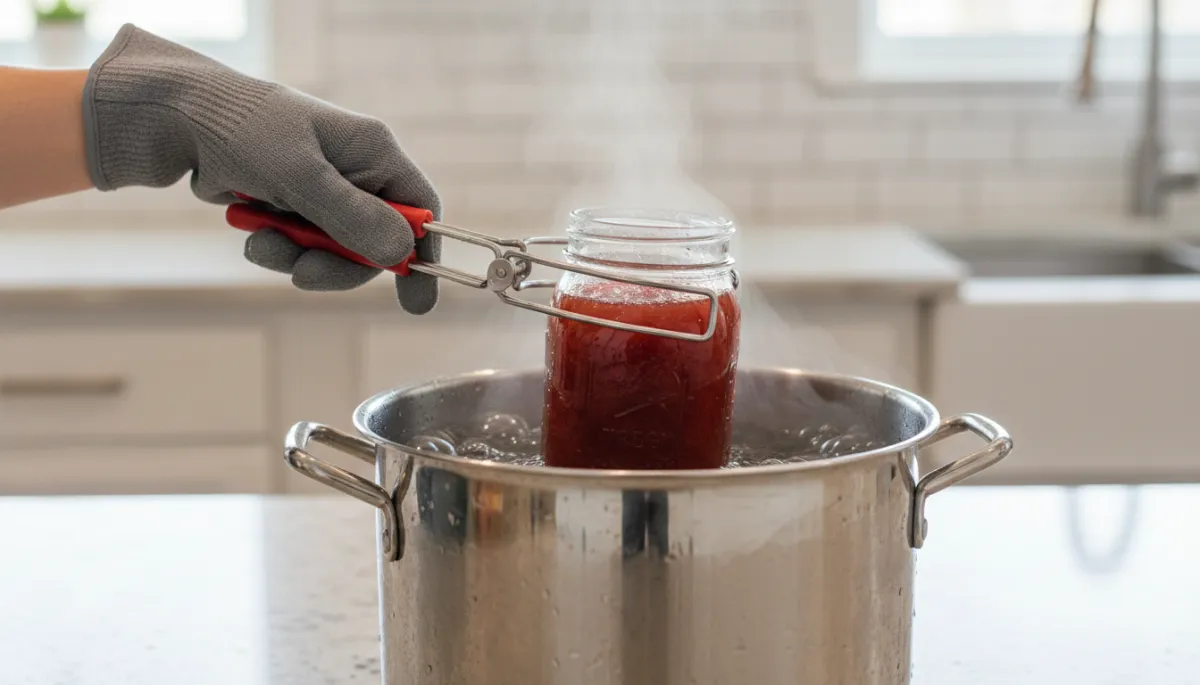
A sturdy jar lifter turns the scariest step into a quick, controlled motion.
Who needs this: Everyone using a boiling-water or pressure canner. If you’re nervous about burns, have kids or pets underfoot, or have any wrist or grip issues, a jar lifter can make moving jars feel much more manageable.
When to skip: It’s best not to. Tongs and improvised tools are more likely to cause spills, broken jars, and burns. A jar lifter is one of the few tools that truly belongs on almost every canning-day list.
Starting from scratch? Get the whole set. If you don't own any canning tools yet, a kit is the easy way to cover this step and the next one at the same time. The Ba77cy 7-piece canning kit in green comes with a jar lifter, a wide-mouth funnel, a magnetic lid lifter, a bubble remover, a jar wrench, tongs and a steamer rack. The brand says the tools are stainless steel and work for both water bath and pressure canning.
See the 7-piece canning kit on Amazon →
3. Guessing Headspace (and Getting Siphoning or Failed Seals)
The frustration: Recipes tell you to leave ¼‑inch, ½‑inch, or 1‑inch headspace, but eyeballing it over a steaming pot is tricky. Too little and food may bubble out (siphoning), leaving sticky residue that interferes with sealing. Too much and you may not get a strong vacuum, which USDA and NCHFP emphasize for safe, shelf-stable jars.
The tools that help: A canning funnel with markings and a headspace/bubble remover tool. The funnel keeps food off the rim and often has lines molded into the side for common headspace measurements — Shop the canning funnel or headspace and bubble-remover tool. The plastic headspace tool doubles as a bubble remover: you slide it down the inside of the jar to release trapped air and then use the notched edge to quickly check headspace against the jar rim.
💡 Pro Tip: After filling, run the bubble remover around the inside of each jar, then top up or remove a spoonful until the headspace tool sits exactly at the correct line. This small habit can dramatically cut down on siphoning and seal issues.
Who needs this: New canners, anyone who has had jars lose liquid during processing, and cooks who can only manage canning on tired evenings and don’t want to reprocess jars the next day. Precision tools take the guesswork out when your brain is done for the day.
When to skip: If you can only buy one thing, prioritize a wide-mouth funnel first; you can approximate headspace with a clean ruler in a pinch. But once you’ve had a run of siphoned jars, the dedicated headspace tool often earns a permanent place in the drawer.
4. Sticky Counters, Floors, and Everything Else
The frustration: After a jam or jelly session, your counters feel like flypaper. Ladles drip, jars slosh as you move them, and by the end of the night your kitchen looks like a sugar bomb exploded. Stickiness isn’t just annoying; it can also attract pests and make it harder to spot actual spills or cracks around jars later.
The tools that help:Wide-mouth funnel, sturdy ladle, and absorbent towels. A funnel dramatically cuts drips down the outside of jars and onto the counter. A sturdy ladle works with the wide-mouth funnel to help you portion evenly without overflowing — Shop the sturdy ladle and flour-sack towels. Finally, keep a stack of old but clean bar towels or flour-sack towels dedicated to canning to set under jars and catch drips before they hit your counters or floors.
Who needs this: Anyone making jams, jellies, syrups, pie fillings, or anything sugary. Also helpful for canners in open-plan homes where sticky floors migrate into living spaces fast.
When to skip: If you primarily can broths, plain vegetables, or meats (in a pressure canner), the stickiness factor is lower. You still want towels for cushioning and spill control, but a specialty ladle can move down your priority list.
5. Jars Sliding or Touching in the Canner
The frustration: You lower jars into the canner and they immediately clink together or tip sideways. During processing, they rattle around, making you worry about breakage or uneven heating. Jars should sit on a rack, not directly on the bottom of the pot, for even heat transfer and to help prevent cracking, as NCHFP notes in its equipment guidance.
The tools that help: A sturdy canning rack that fits your pot and, if needed, a jar spacer or second rack for stacking pints in a taller canner. The rack keeps jars off the bottom and slightly separated. Some racks have individual “wells” or dividers; others are simple grids. Either style can work as long as it holds jars upright and allows water to circulate freely — See the canner and rack.
⚠️ Safety Note: Never wedge jars tightly or use towels inside a canner to keep them from touching. Fabric can block heat flow and interfere with proper processing.
Who needs this: Anyone using a large stockpot as a makeshift canner, or anyone who has had jars crack on the bottom of a pot. If your current rack is flimsy or rusting, upgrading can immediately make processing feel more secure.
When to skip: If your water bath canner or pressure canner already came with a solid, rust-free rack that keeps jars stable, you’re set. A second rack is helpful only if you routinely process stacked layers of jars in a tall canner and your tested recipe allows it.
6. Labeling Mystery Jars (and Actually Using What You Can)
The frustration: Six months later, you’re staring at a shelf of red sauces and orange chunks thinking, “Is this salsa? Pizza sauce? Peach chutney?” Without clear labels, you risk wasting food, opening jars to “sniff test” them (never a safe plan), or leaving older jars forgotten at the back of the shelf past their best quality window.
The tools that help:Removable labels and a dedicated marker or labeler. Simple dissolvable label rolls or pre-cut canning labels let you quickly note the contents, recipe source, and processing date — Shop removable labels, floral labels, or fine-point markers. A fine-tip permanent marker lives in your canning box so you’re never hunting for a pen. Some busy cooks also like a basic label maker for uniform, easy-to-read labels that still peel off cleanly.
💡 Pro Tip: Add a tiny code like “USDA 3.1” or “Ball p.142” to remind you exactly which tested recipe and processing time you used. If a question ever comes up, you can go straight back to the source.
Who needs this: Anyone canning more than one recipe per year, and especially busy households where multiple people might grab jars from storage. Clear labels help you rotate stock within the recommended one-year quality window that USDA and NCHFP suggest.
When to skip: If you’re doing a one-off batch of jam for immediate gifting, painter’s tape and a Sharpie are fine. But once you move beyond that, investing in labels tailored for jars keeps your shelves looking neat and your food organized.
7. Storing Finished Batches Without a Pantry Overrun
The frustration: You’ve had a successful canning day—and now your counters are covered in cooling jars, your cupboards are overflowing, and you can’t remember which batch should be used first. USDA and NCHFP recommend storing jars in a cool, dark place (about 50–70°F) and using them within about a year for best quality, which is hard to do if they’re scattered everywhere.
The tools that help:Sturdy shelving, jar boxes, and simple organizers. A basic metal or wooden shelf unit in a closet, basement, or cool spare room turns chaos into a mini “store.” Keep jars in their original cardboard flats or use plastic jar totes with dividers to help prevent tipping and clinking — Shop divided jar-storage boxes or an over-the-door pantry organizer. Small shelf risers or can organizers make it easier to see and reach jars so older ones get used first.
💡 Pro Tip: Store jars without their screw bands once they’re fully cooled and sealed. This makes it easier to spot any failed seals later and helps prevent rust from trapping moisture around the lids.
Who needs this: Anyone doing more than one or two batches per season. If your jars are creeping into random kitchen cabinets, a dedicated storage spot will instantly make canning feel more manageable—and safer, since you can quickly spot any jars that have leaked or lost their seal.
When to skip: If you truly only can a handful of jars a year, a single cupboard shelf might be enough. Focus instead on labels and rotation (oldest in front, newest in back) before investing in shelving.
Not everything goes in a jar: Dry goods like rice, beans and oats do not get canned at all. For those, stand-up Mylar bags with a zip top keep single servings together on a shelf or in a camping bin. ODDIER sent me a pack, and I portioned rice into them. They are for dry storage only, never a substitute for canning.
Problem-to-Tool Checklist: Buy Only What Solves a Recurring Issue
Use this quick checklist to match your biggest frustrations with the simplest tool that fixes them. Circle only the ones that describe problems you have every time you can.
Too many pots taking over the stove? → Multi-purpose water bath canner with rack + a couple of large, heat-safe bowls/pitchers to move brine and sauces off the burners.
Nervous about lifting hot jars? → A well-made jar lifter (non-slip grips, comfortable handles).
Always guessing headspace? → Canning funnel with markings + headspace/bubble remover tool.
Sticky counters after every batch? → Wide-mouth funnel, sturdy ladle, and a stack of dedicated canning towels.
Jars sliding or touching in the canner? → A sturdy, well-fitting canning rack (and a second rack only if you stack jars in a tall canner).
“Mystery jars” on the shelf? → Dissolvable or removable labels + a dedicated permanent marker or simple labeler.
No good place to store finished batches? → Sturdy shelving in a cool, dark space and/or jar totes or boxes with dividers.
The goal isn’t to own every gadget—it’s to support safe, USDA- and NCHFP-compliant canning while making your kitchen feel calmer. Start with a jar lifter, funnel, and headspace tool, then add only the items that clearly solve problems you face again and again. When each tool earns its place by preventing a real mess or mistake, your canning days become not just safer, but genuinely enjoyable.
One Last Thing: Four Canning Basics That Are Easy to Forget
These are not the exciting problem-solving tools, but they are the basics I am always grateful to have ready before a canning day begins.
Canning jars. Keep the jar sizes required by your tested recipe on hand and inspect every jar for cracks, chips, or damaged rims before filling. Use jars designed for home canning rather than reusing commercial food jars — Shop canning jars.
New replacement lids. Flat canning lids are intended for one-time processing, so having an unopened box nearby prevents a last-minute store run. Screw bands can be reused as long as they are clean, rust-free, and not bent — Shop replacement canning lids.
A digital kitchen scale. A scale is helpful when a tested recipe lists produce or ingredients by weight. Use it to follow the published recipe accurately—not to change ingredient ratios or invent a new batch size — Shop the digital kitchen scale.
A dedicated kitchen timer. Phone timers work until a call, child, or notification interrupts you. A simple kitchen timer makes it easier to track processing time once the canner has returned to the full boil or pressure required by your tested recipe. Always use the recipe’s required altitude adjustment — Shop the dedicated kitchen timer.
You do not need to buy all four at once. Check what you already own, replace what is worn out, and add only the basics that will make your next canning day safer and easier.
Want a few good deals a day? I share Walmart and Amazon finds families actually use in my free Facebook group.
Join Real Life with Alyssa: Deals & Finds →