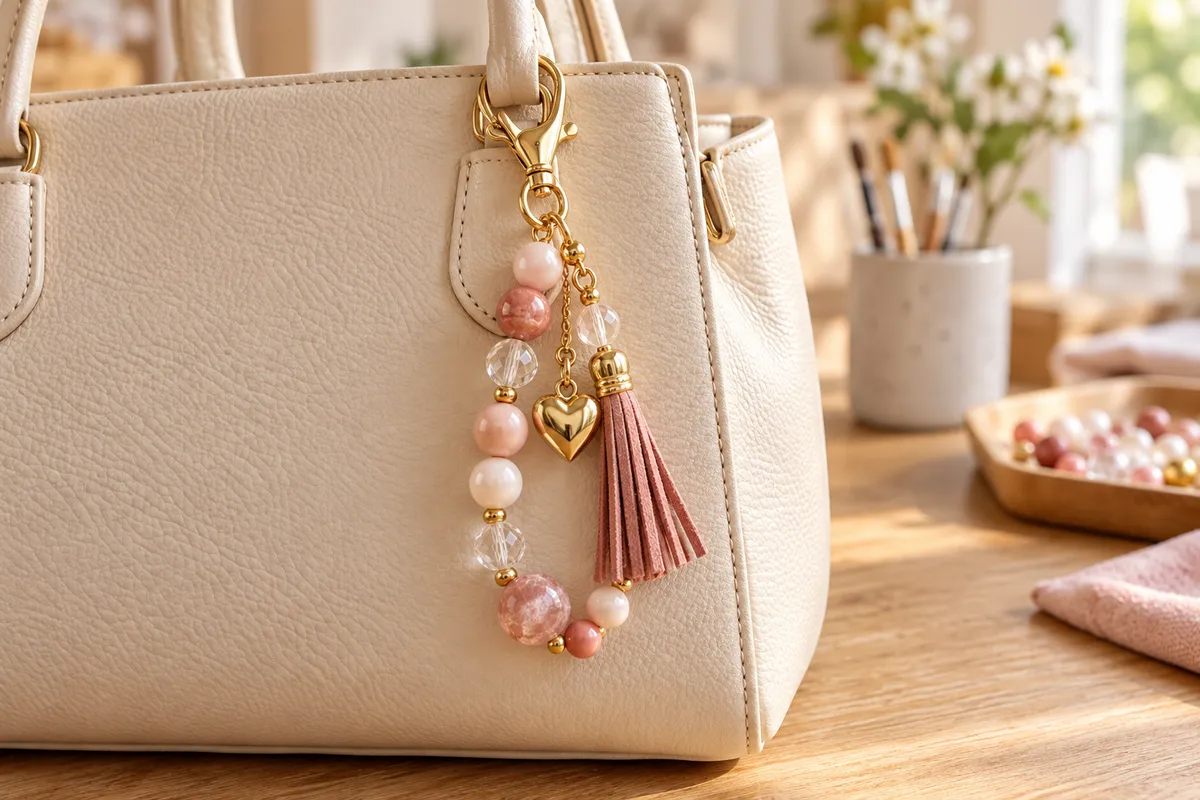
How to Make a Cute Bag Charm: Easy Step-by-Step Tutorial
DIY Crafts · Bag Charms · Gift Ideas
Bag charms are one of those crafts that look complicated until you break them into a few simple pieces. You do not need professional jewelry-making experience or a drawer full of specialty tools. With a clasp, a sturdy base, a few beads and one or two playful charms, you can make something cute enough to clip onto a purse, backpack, tote or keys.
This post may contain affiliate links. If you buy through one of my links, I may earn a commission at no extra cost to you. As an Amazon Associate I earn from qualifying purchases.
Want to gather everything first? See my complete Bag Charm Making Essentials list.
What You Need to Make One Bag Charm
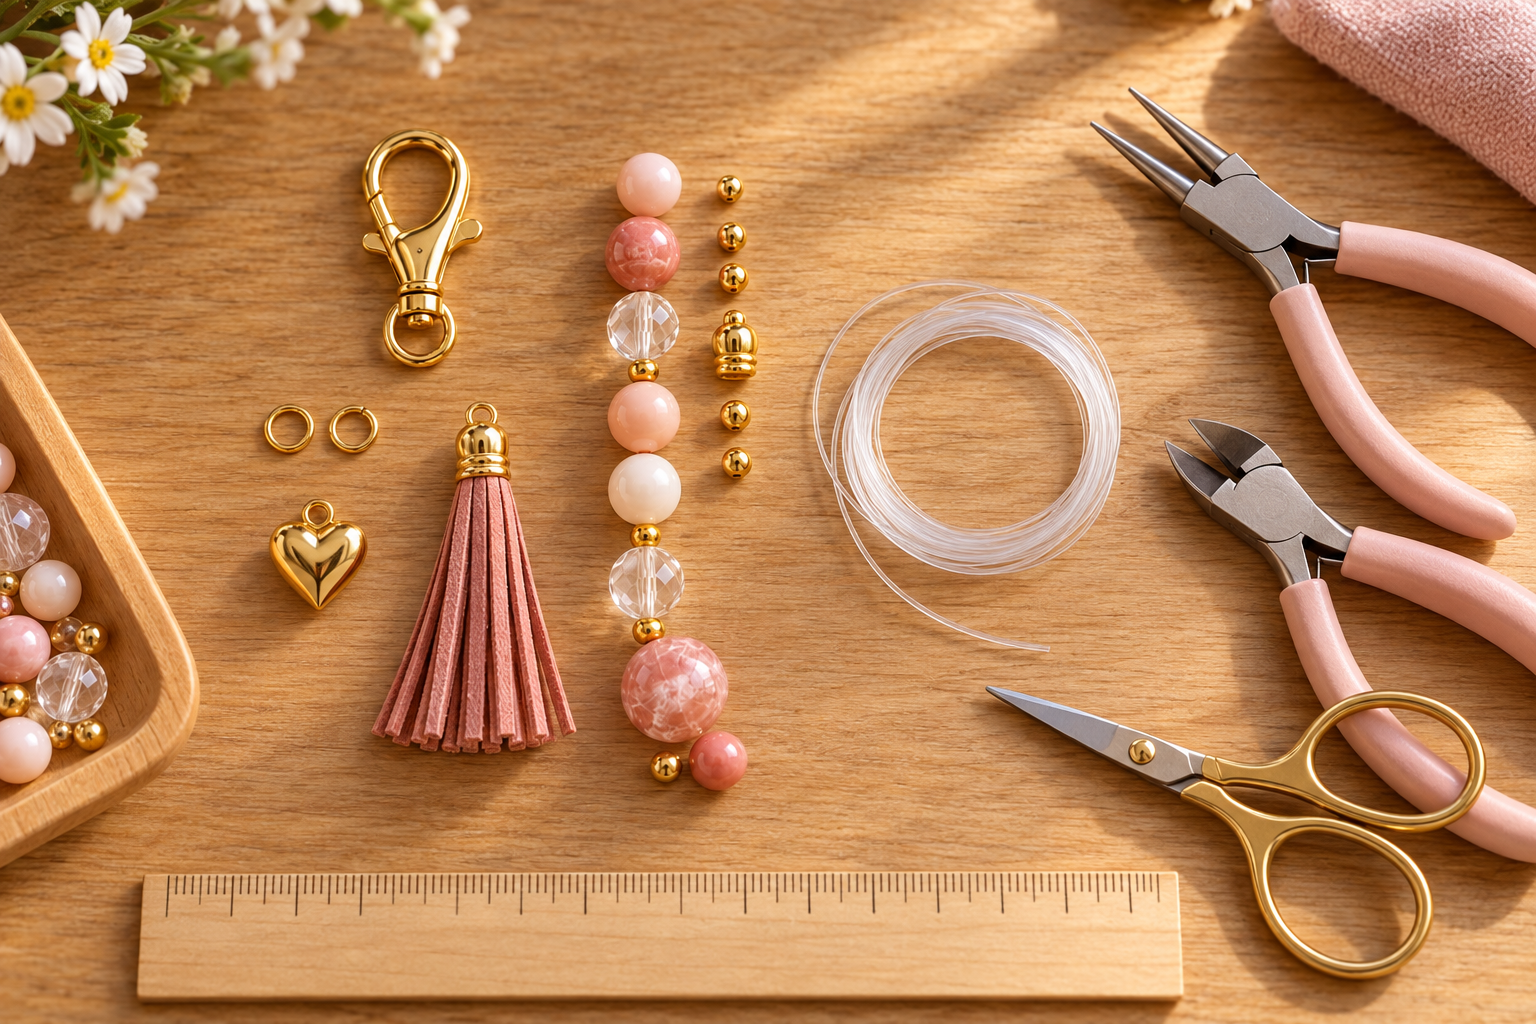
A lobster clasp or keychain clip: This is what attaches the finished charm to the bag.
Beading cord, chain or sturdy string: Choose something strong enough for daily use.
Assorted beads: Mix colors, shapes, letters and textures instead of trying to make everything match perfectly.
One focal charm: A heart, bow, flower, initial or small character gives the finished piece a clear personality.
Jump rings: These connect charms and chains to the clasp.
Jewelry pliers: Two small pairs make opening and closing jump rings much easier.
Scissors: Needed if you are using cord or string.
Optional spacer beads, ribbon or tassel: Use these only if the charm needs a little more texture.
Shop the complete supply list →
Before You Start: Pick a Simple Color Story
The easiest way to make a bag charm look intentional is to choose two or three main colors, then add one neutral or metallic accent. Pink, cream and gold feels soft and polished. Blue, green and silver feels brighter. Letter beads and one playful character charm can make the same basic design feel personal.
Lay everything out before stringing. Move the beads around until the sizes and colors feel balanced. This five-minute step prevents you from repeatedly taking the charm apart later.
How to Make the Bag Charm
Step 1: Build the main beaded strand
Cut a manageable length of cord, leaving several extra inches for tying. Arrange the beads beside the cord first. Start with a smaller bead, build toward the largest or most decorative bead near the middle, and taper back down toward the end.
String the beads in order. Keep the strand flexible enough to move naturally; beads packed too tightly can make the finished charm stiff.
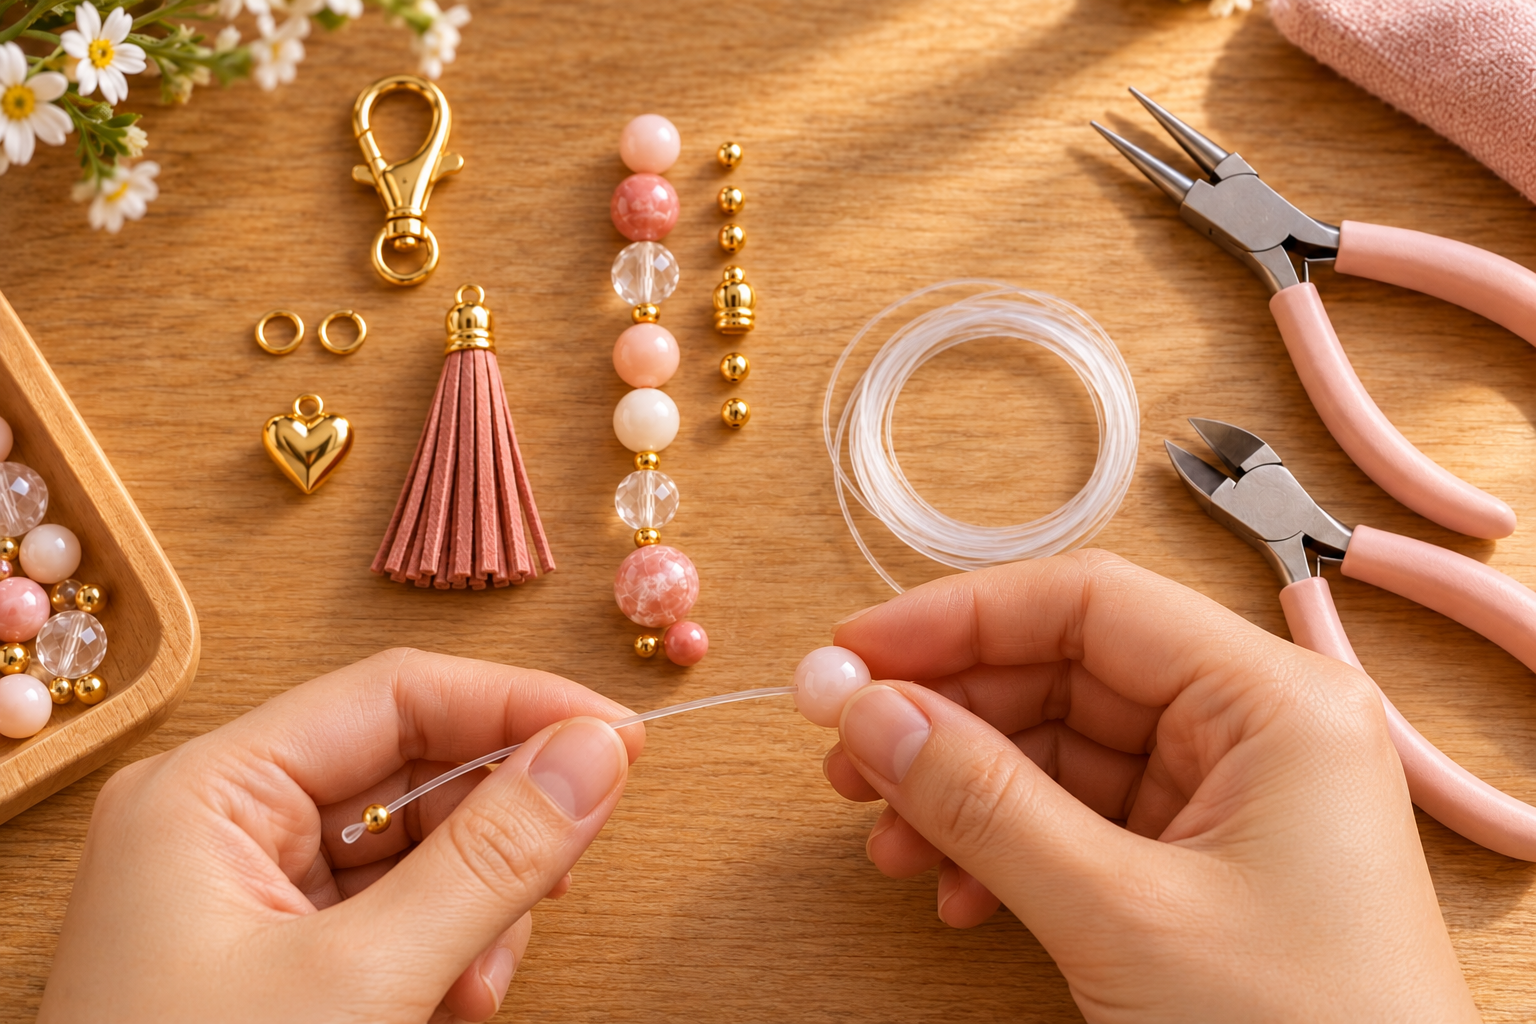
Step 2: Secure the strand
Tie the cord securely according to the cord manufacturer's directions. If your kit uses crimp beads, secure the ends with the appropriate pliers instead. Trim only after you have tug-tested the strand.
Quick check: Hold both ends and pull gently. If anything shifts, retie it before adding the hardware.
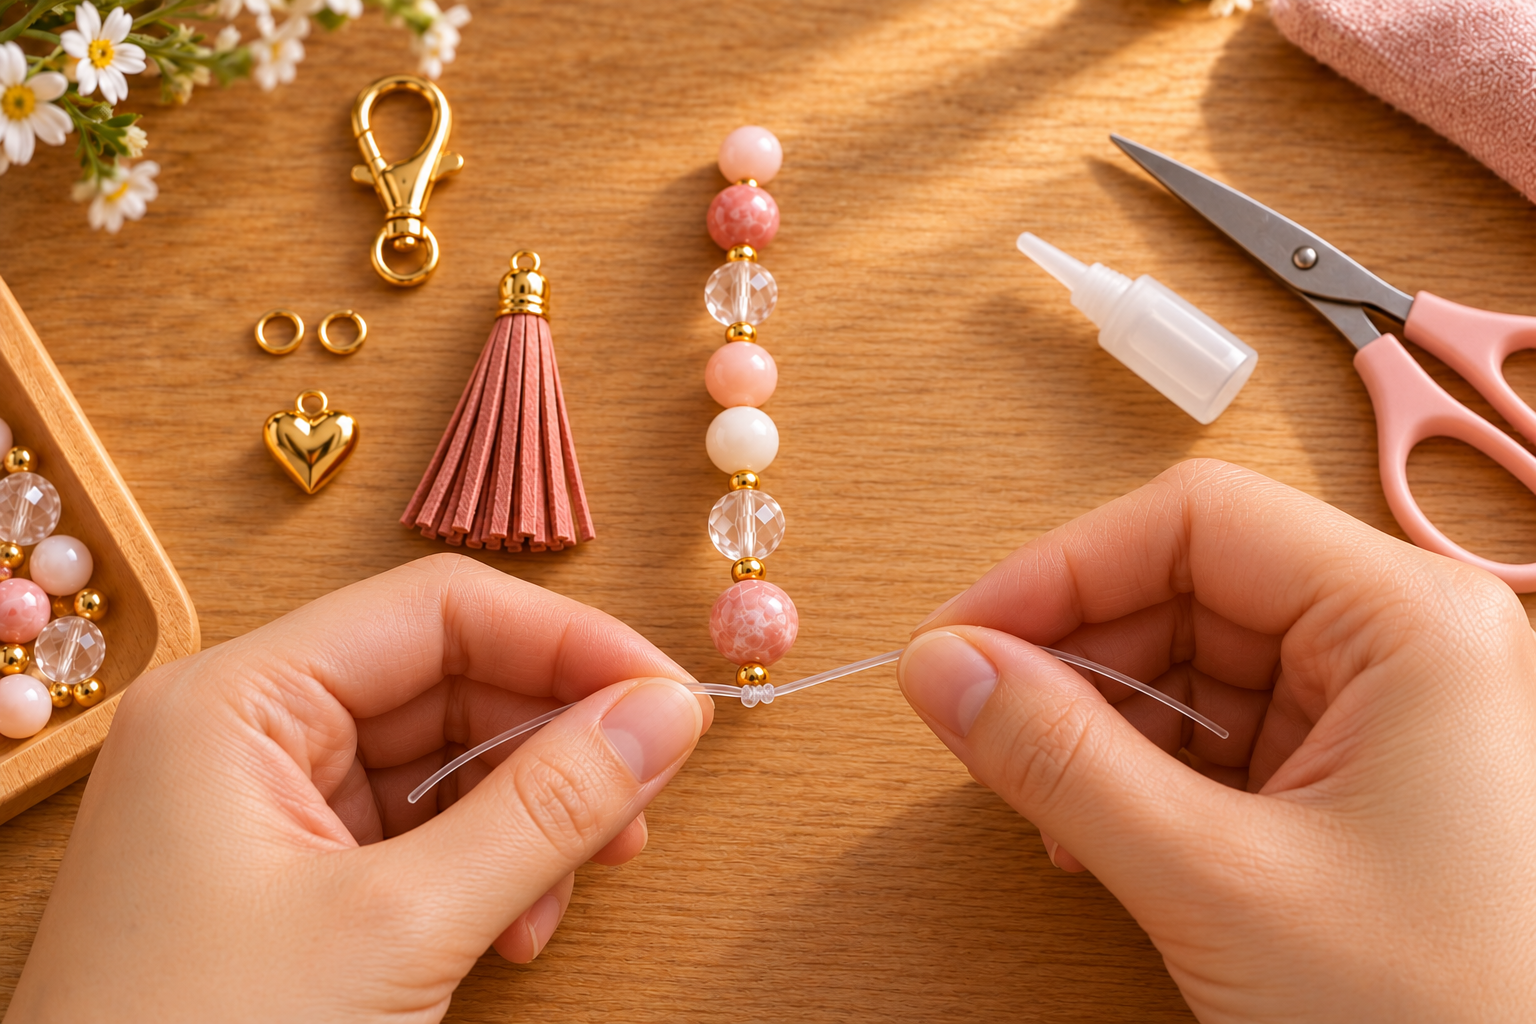
Step 3: Add the clasp
Attach the beaded strand to a lobster clasp or keychain clip. A jump ring usually makes this easier and lets the charm move freely.
To open a jump ring, twist the ends sideways with two pairs of pliers. Do not pull the circle apart. Slide on the strand and clasp, then twist the ring closed until the ends meet cleanly.
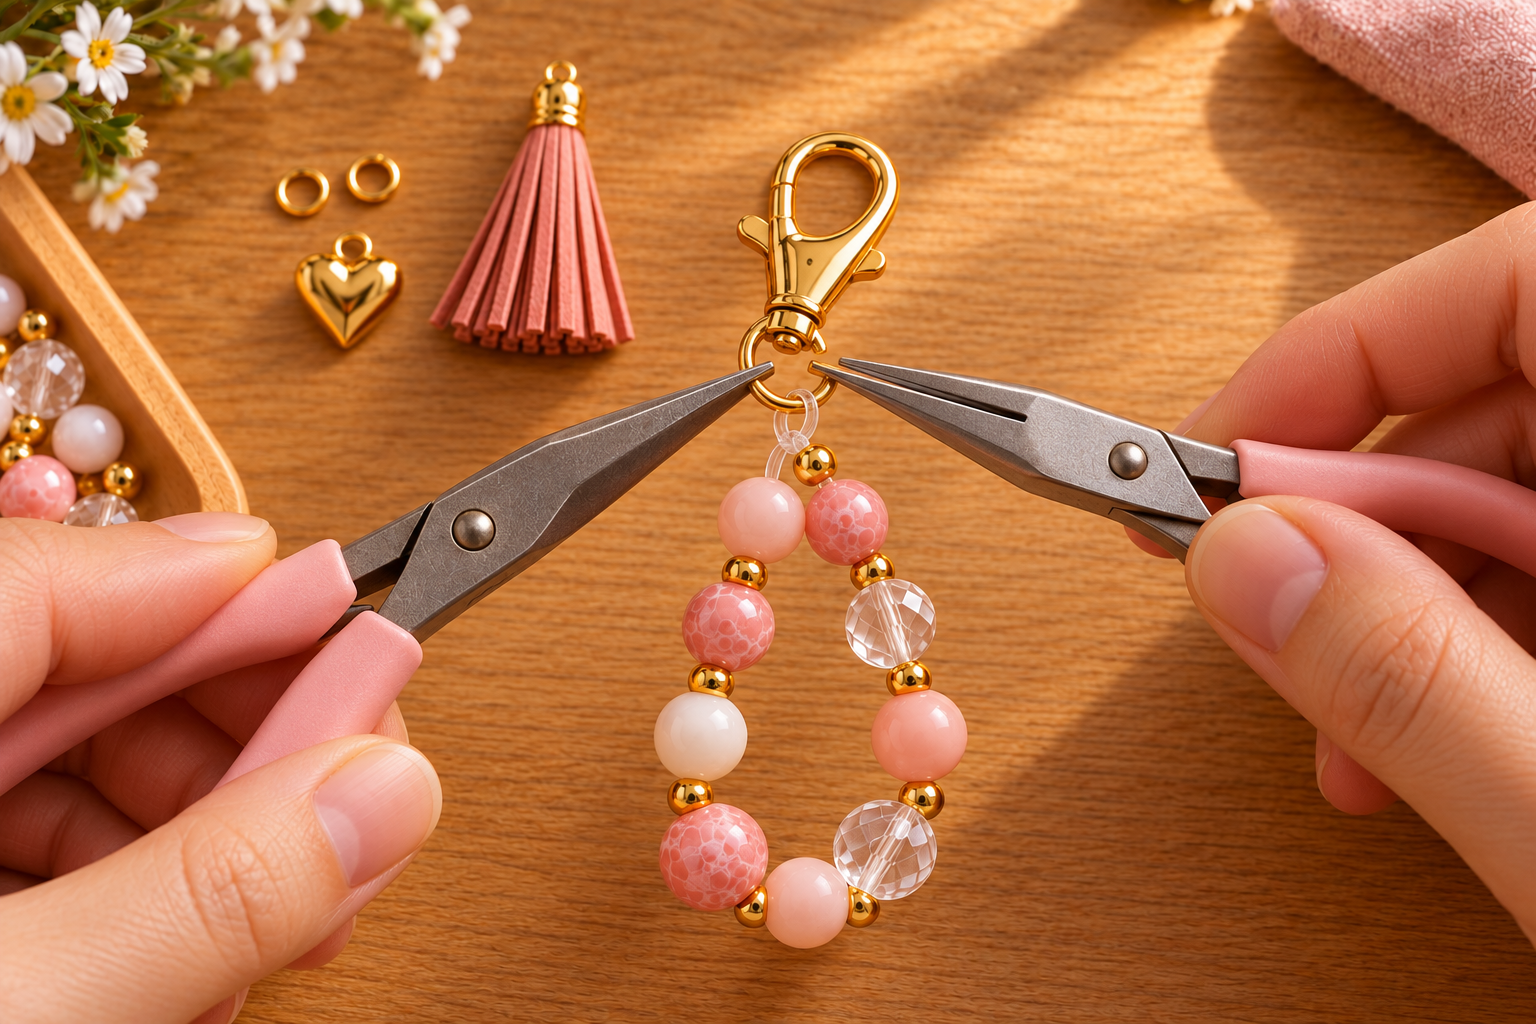
Step 4: Add one focal charm
Use a second jump ring to attach the focal charm near the bottom or beside the main beaded strand. One focal piece usually looks cleaner than several large charms competing for attention.
Step 5: Add an optional mini strand or tassel
If the charm still looks sparse, add one shorter strand, ribbon or tassel. Keep it shorter than the main strand so the finished piece has visible layers instead of becoming one bulky cluster.
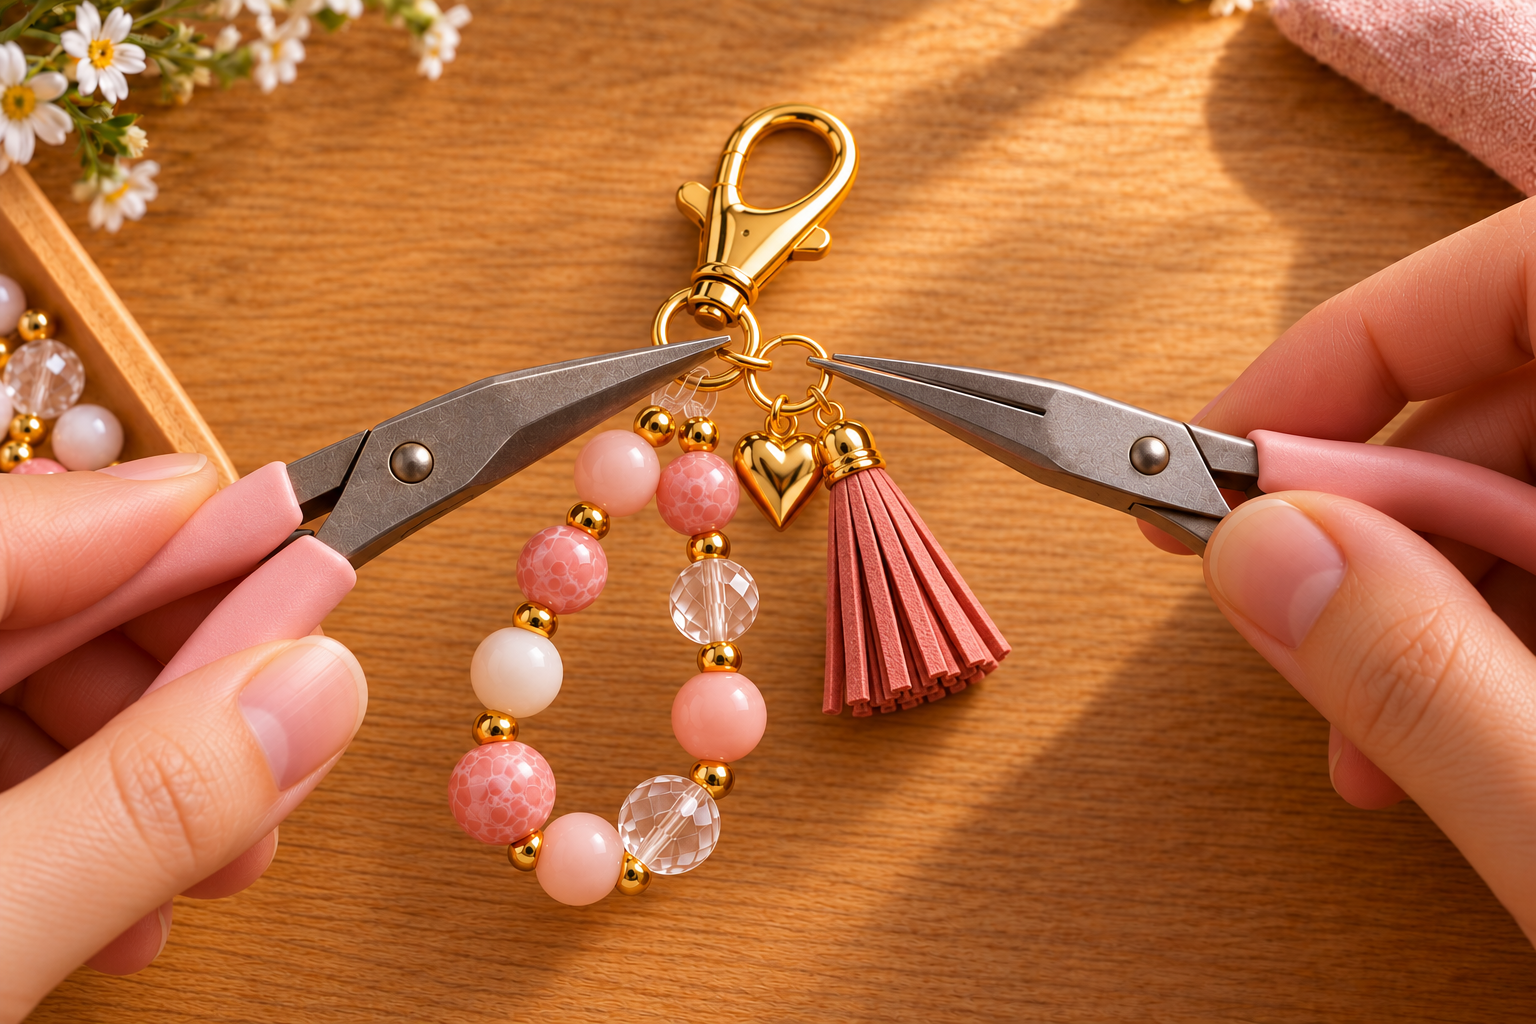
Step 6: Test it on the actual bag
Clip the charm onto a zipper pull, handle ring or sturdy strap loop. Shake the bag gently, check that each jump ring is fully closed, and make sure the charm does not interfere with the zipper.
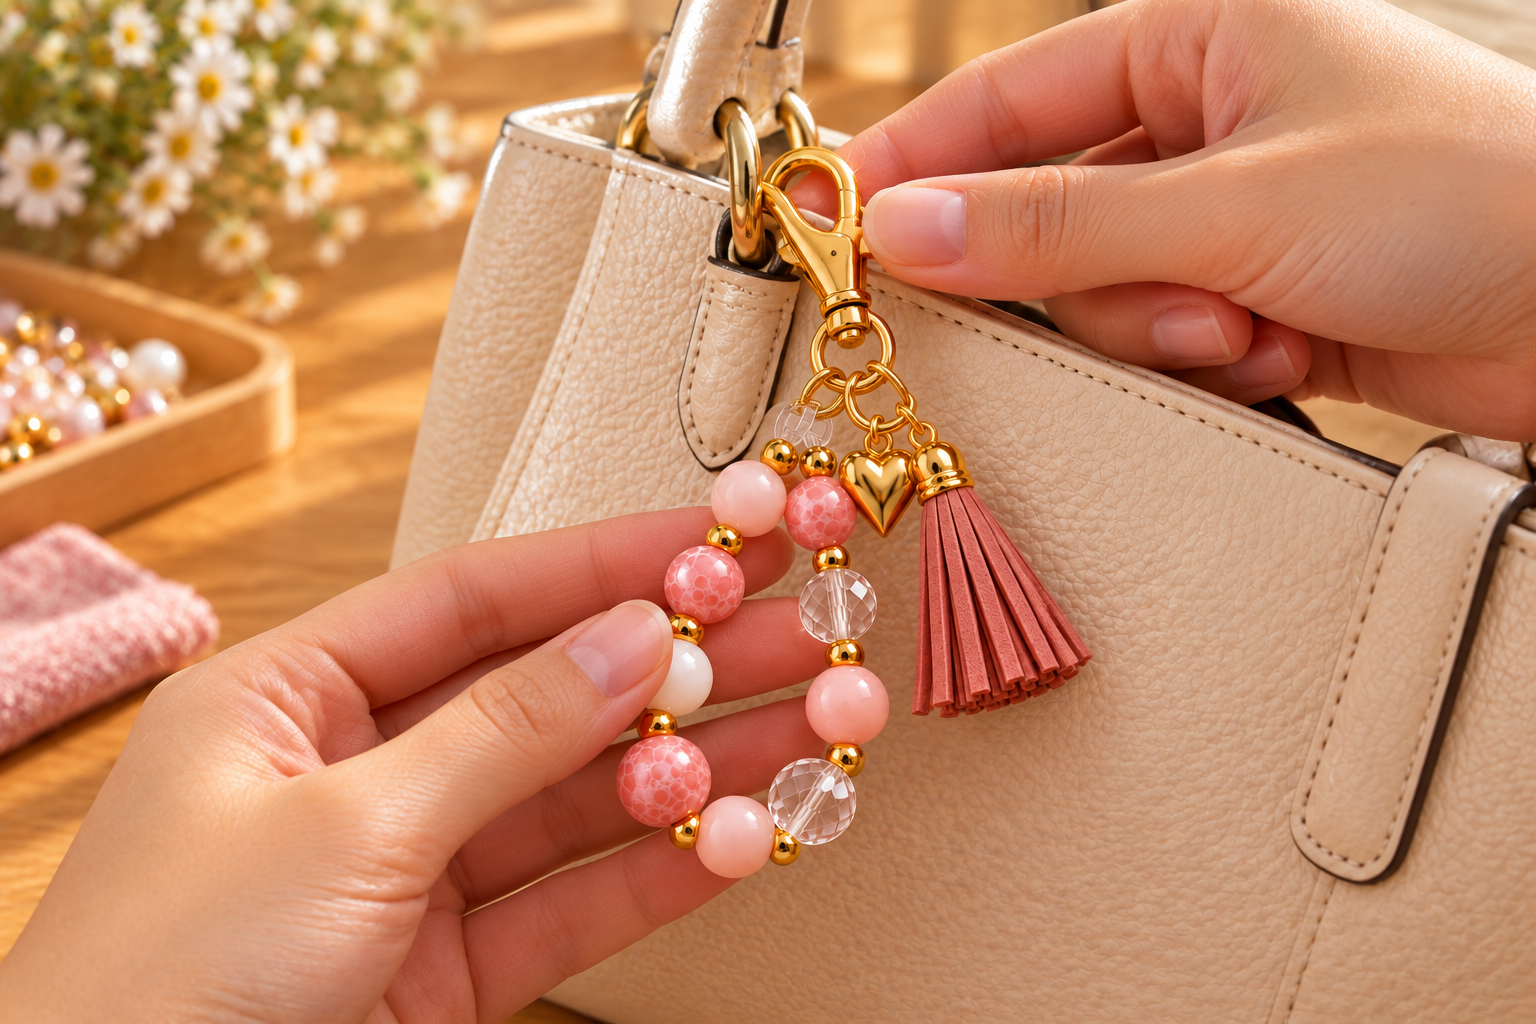
The Easiest Option: Start With a Complete Kit
A complete kit is the easiest choice if this is your first bag charm or you are making several with children. Kits reduce the chance of forgetting the tiny but necessary parts—especially clasps, jump rings and cord. You can always add a special initial or focal charm to make the finished piece feel more personal.
If you want everything matched in one box, the BaubleBar DIY bead kit is an easy place to start. It comes with the beads, charms and cord together, so it works well for a first-timer or a party table where every guest needs the same basics.
Compare complete kits and individual supplies →
Turn It Into a Bag-Charm Birthday Party
This works well as a screen-free birthday activity because every guest can use the same basic supplies and still leave with something different.
Pre-cut cord before guests arrive.
Place beads in shallow divided trays so everyone can see the choices.
Give each child one clasp and one small cup for selected beads.
Offer a limited number of focal charms so choosing does not become overwhelming.
Have an adult handle jump rings, crimps and final strength checks.
Label small paper bags so finished charms and loose pieces make it home safely.
For younger children, use larger beads and avoid very small pieces. Beads and jewelry findings can be choking hazards, so choose supplies and supervision based on the ages attending.
Common Bag-Charm Mistakes
Using weak string: Pretty beads are wasted if the base cannot handle normal movement.
Overfilling the strand: Leave enough flexibility for the charm to hang naturally.
Pulling jump rings apart: Twist sideways so the ring keeps its round shape.
Adding too many focal pieces: One main charm plus a small accent usually looks more finished.
Skipping the tug test: Test every connection before clipping it onto a bag.
Make It Personal
Try an initial, school colors, a favorite animal, birthstone-inspired beads or colors that match the bag. These are also easy handmade gifts because you can personalize the design without changing the basic instructions.
Shop the Supplies
You can buy only the pieces you are missing or start with a complete kit. I organized the beads, clasps, cord, tools and finishing pieces together so you do not have to search for every little part separately.
Open my Bag Charm Making Essentials list →
Start simple, make one charm all the way through, and then use what you learned to build the next one. The fun part is that no two have to look exactly alike.
Want a few good deals a day? I share Walmart and Amazon finds families actually use in my free Facebook group.
Join Real Life with Alyssa: Deals & Finds →