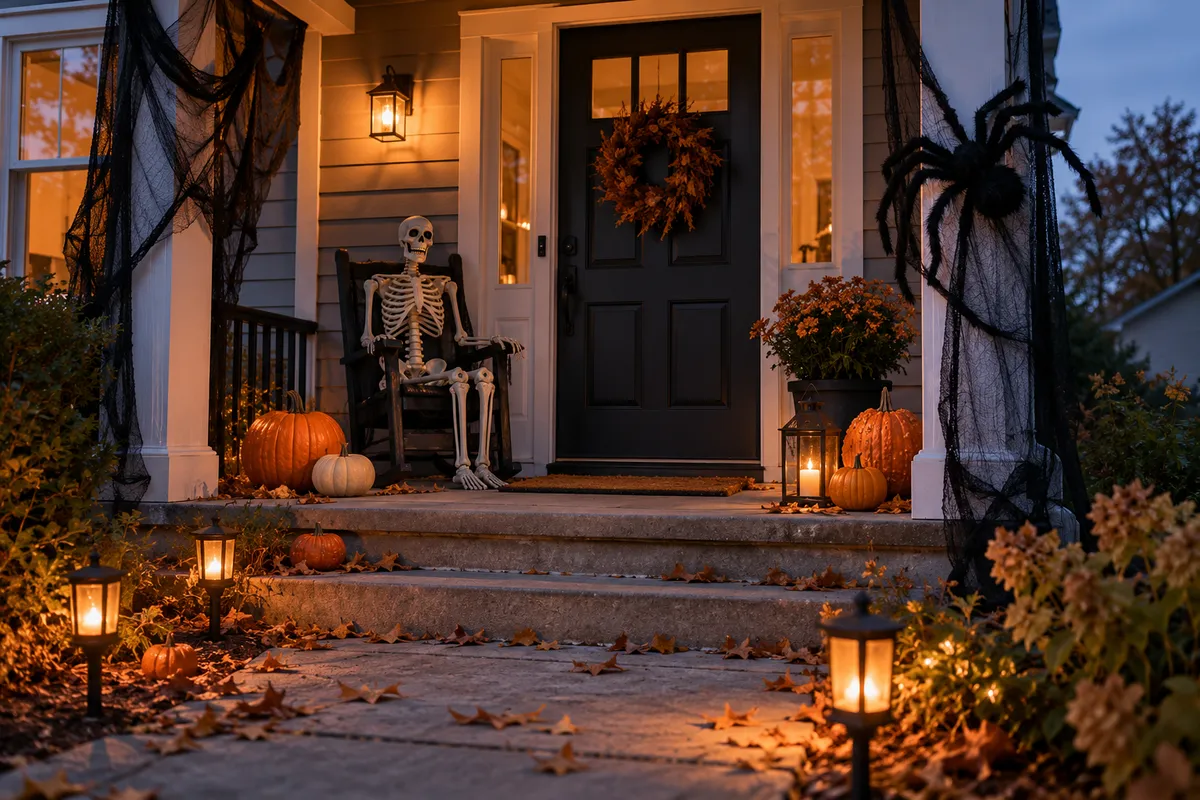
12 Halloween Decorations That Look Expensive for Less
Disclosure: This post may contain affiliate links. If you purchase through one of these links, I may earn a commission at no additional cost to you.
Halloween décor can get expensive fast, but buying more decorations is not what makes a room look finished. The homes that look high-end usually do four things well: they choose one focal point, repeat a tight color palette, layer in texture, and use lighting that makes everything feel moodier.
That is the goal here. These are affordable Halloween decorations that can look expensive when they are styled intentionally. You do not need all 12. Pick one area of your home, use the styling formula below, and stop before the display starts feeling crowded.
The Formula: Focal Point + Texture + Light + Breathing Room
Choose one spot—the mantel, dining table, entry console, front window, or a protected doorway. Add one larger focal point, one layer of texture, one source of warm or moody light, and two or three smaller accents. Keep a little empty space around the arrangement. That breathing room is what helps inexpensive pieces look chosen instead of piled on.
12 Affordable Halloween Decorations That Look Expensive When Styled Right
1. Large Swinging Ghost: Give It the Whole Scene
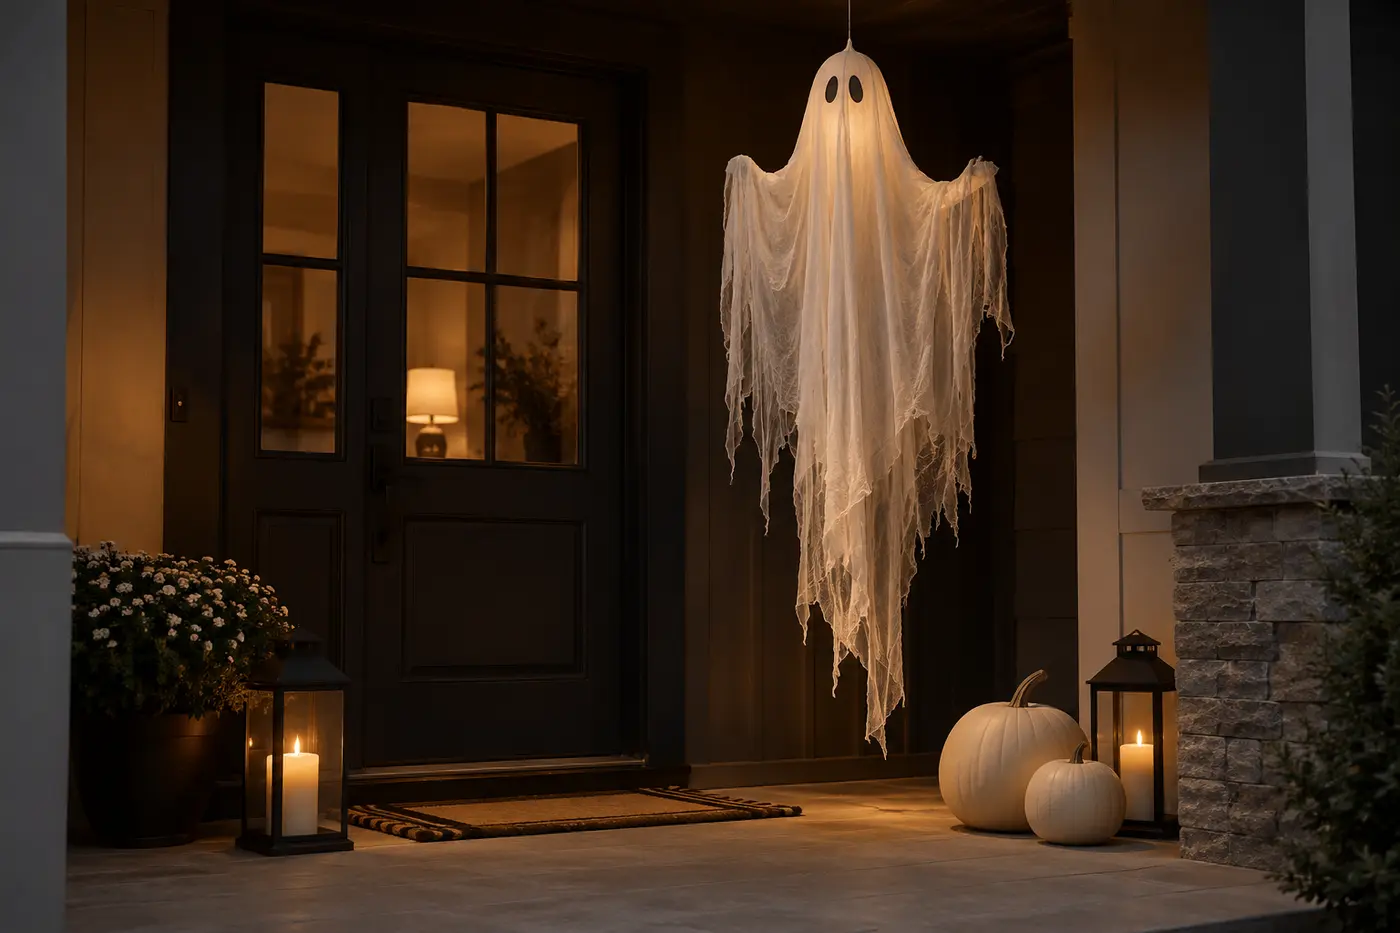
A 5.4-foot hanging ghost brings height, movement, and light, which means it can do the job of several smaller decorations. The expensive-looking move is to treat it as the centerpiece instead of surrounding it with every Halloween item you own.
How to style it: Hang it alone in a protected entry or covered porch area, then add only two grounded elements beneath it—such as matching pumpkins or black lanterns. Keep the colors limited so the ghost remains the thing people notice first.
Avoid: Mixing it with several unrelated inflatables, signs, and bright plastic props. Too many competing focal points can make even a large decoration disappear.
See the large lighted swinging ghost
2. Black Gothic Wreath: Make the Door Feel Designed
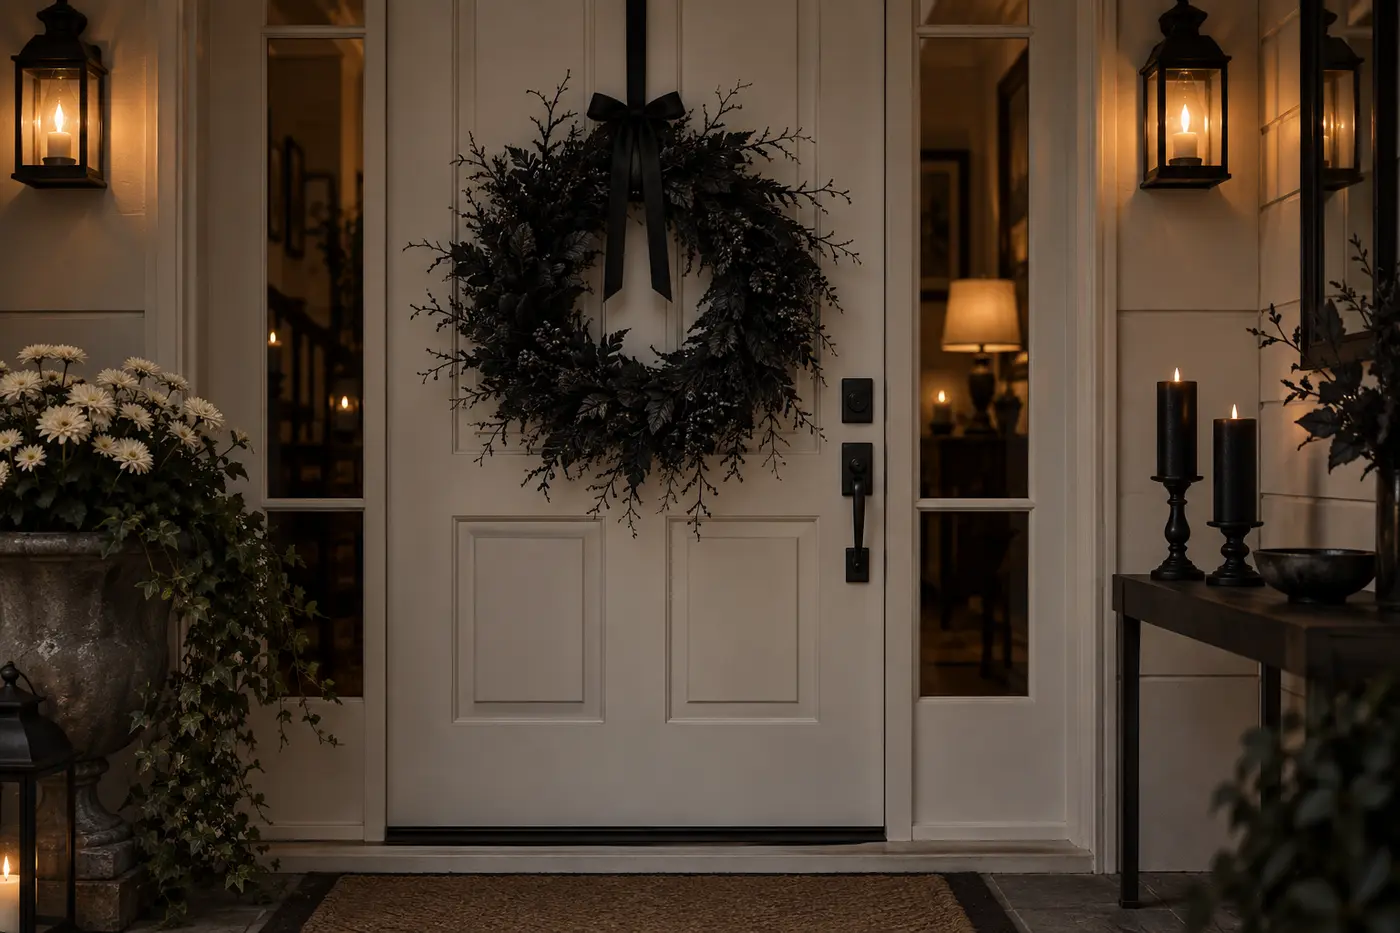
A dark wreath instantly establishes the palette before anyone walks inside. It can look especially polished on a lighter door because the contrast makes its shape and texture stand out.
How to style it: Repeat the black from the wreath in only one or two nearby details—black flameless candles, ribbon, bats, or a lace runner. If your door already has a lot of visual detail, skip the extra sign and let the wreath stand alone.
Avoid: Adding several different ribbon colors or hanging another sign directly beside it. The wreath looks more expensive when the door is not fighting for attention.
See the black gothic Halloween wreath
3. Black Lace Spiderweb Runner: Start With a Layer
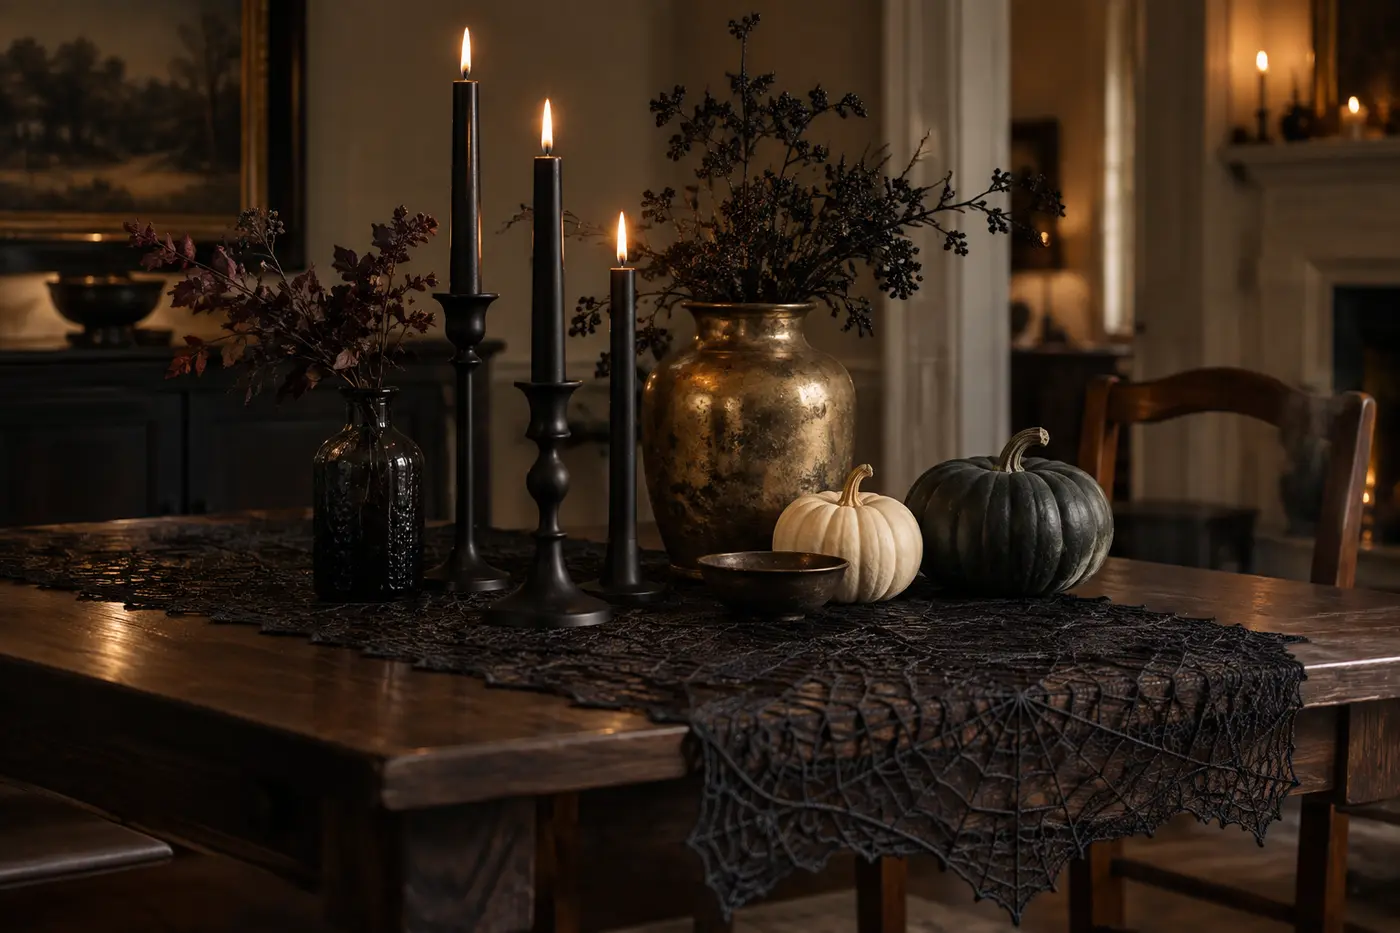
A lace runner gives ordinary candles, pumpkins, and books a common base, so separate pieces begin to look like one collected display. It works on a dining table, mantel, dresser, or entry console.
How to style it: Let a little lace fall beyond the edge of the surface. Layer three or five items at different heights on top, leaving part of the runner visible. Matte black, aged brass, dark wood, and glass all pair well with lace because the mix of finishes adds depth.
Avoid: Lining every decoration up in one straight row. Slightly uneven groupings look more natural and styled.
See the black lace spiderweb table runner
4. Lighted 3D Bats: Use Them Like an Installation
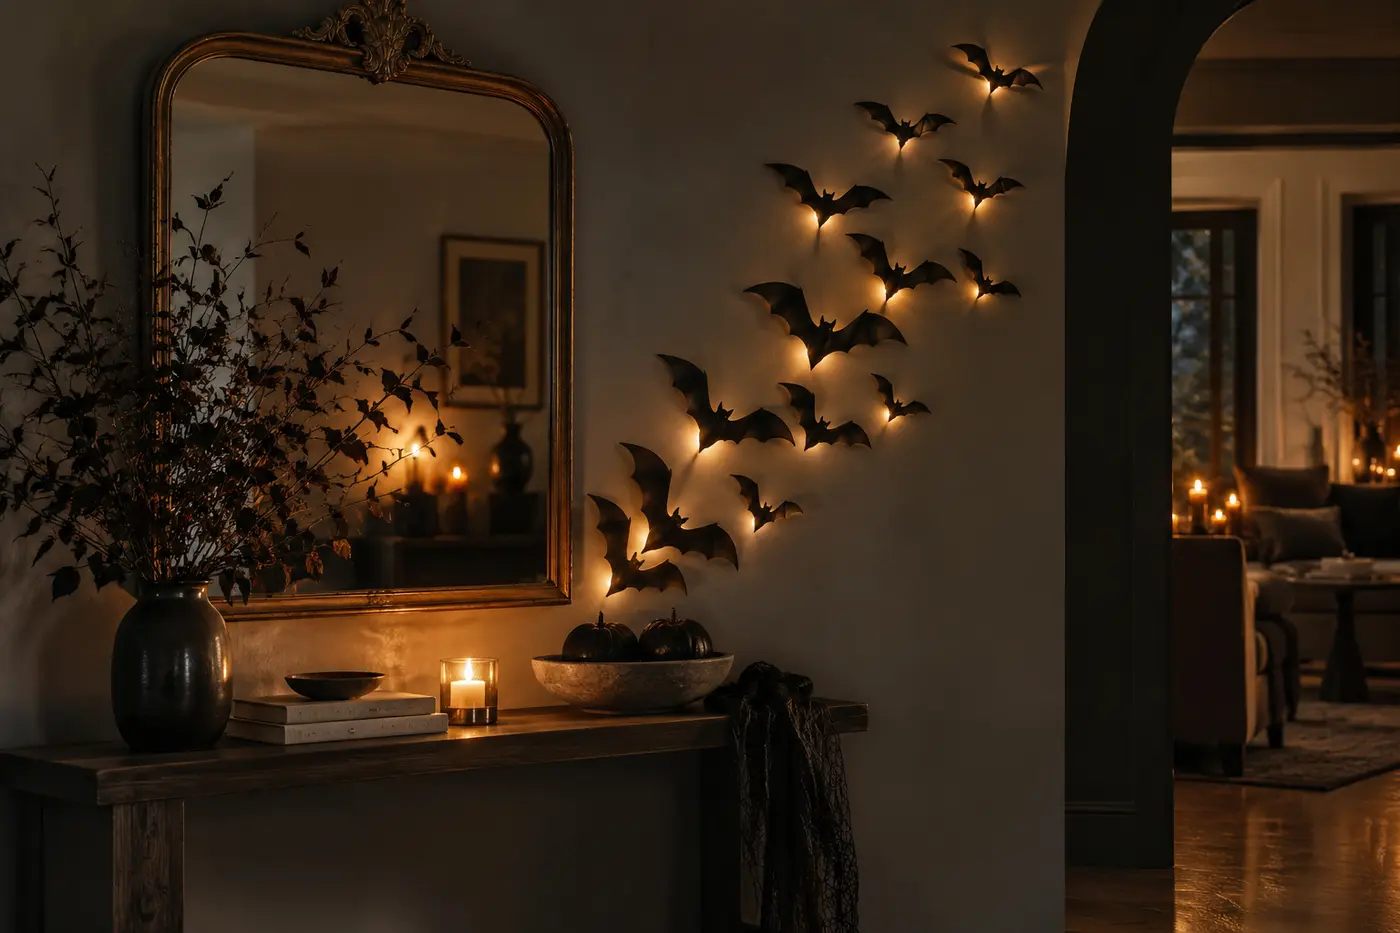
Wall décor adds impact without taking up another tabletop. The lights give these bats an extra layer, but the arrangement is what determines whether they look deliberate or like stickers scattered on a wall.
How to style them: Begin with a tight cluster beside a mirror, window, shelf, or doorway. Gradually increase the spacing as the bats move upward and outward. The shape should feel like one flock moving in a direction.
Avoid: Spacing every bat evenly or spreading them across several unrelated walls. Concentrating them in one area creates a stronger, more expensive-looking effect.
See the lighted 3D Halloween bats
5. Lighted Fall Garland: Mix Halloween With Natural Texture
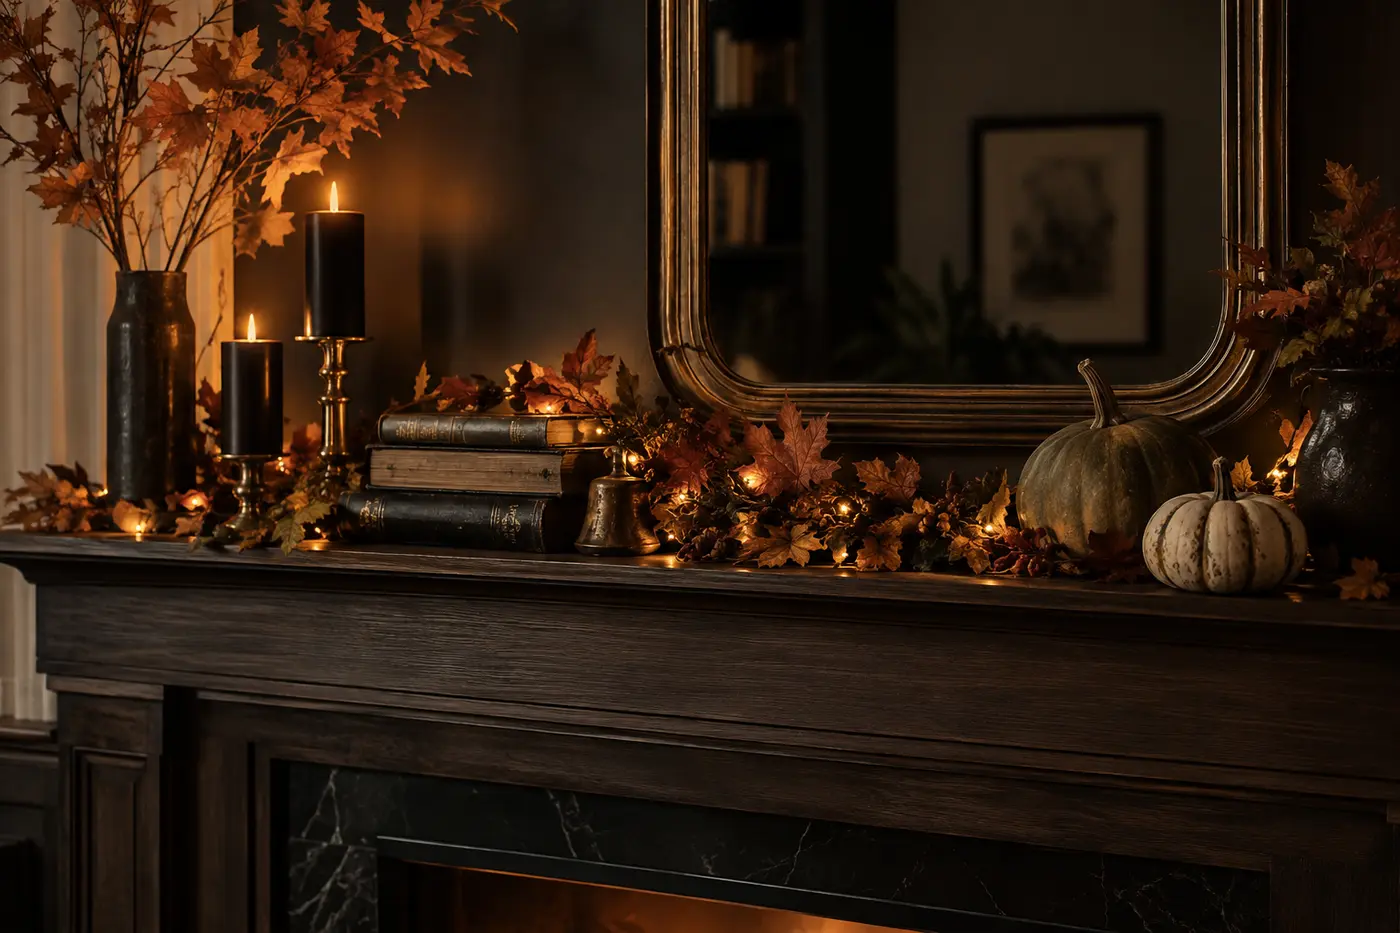
A lighted leaf garland adds warm color, texture, and glow in one step. Because it reads as fall rather than strictly Halloween, it also gives the display a softer, more layered look and can stay up after October 31.
How to style it: Loosely weave it across a mantel or console instead of pulling it straight. Tuck sections behind candles, books, or pumpkins so the greenery moves in and out of view. Pair it with black accents to keep the look Halloween-ready.
Avoid: Stretching it thin to cover the longest possible space. A fuller garland over a smaller area usually looks more substantial.
See the lighted fall leaf garland
6. Halloween Window Decals: Create One Intentional Window
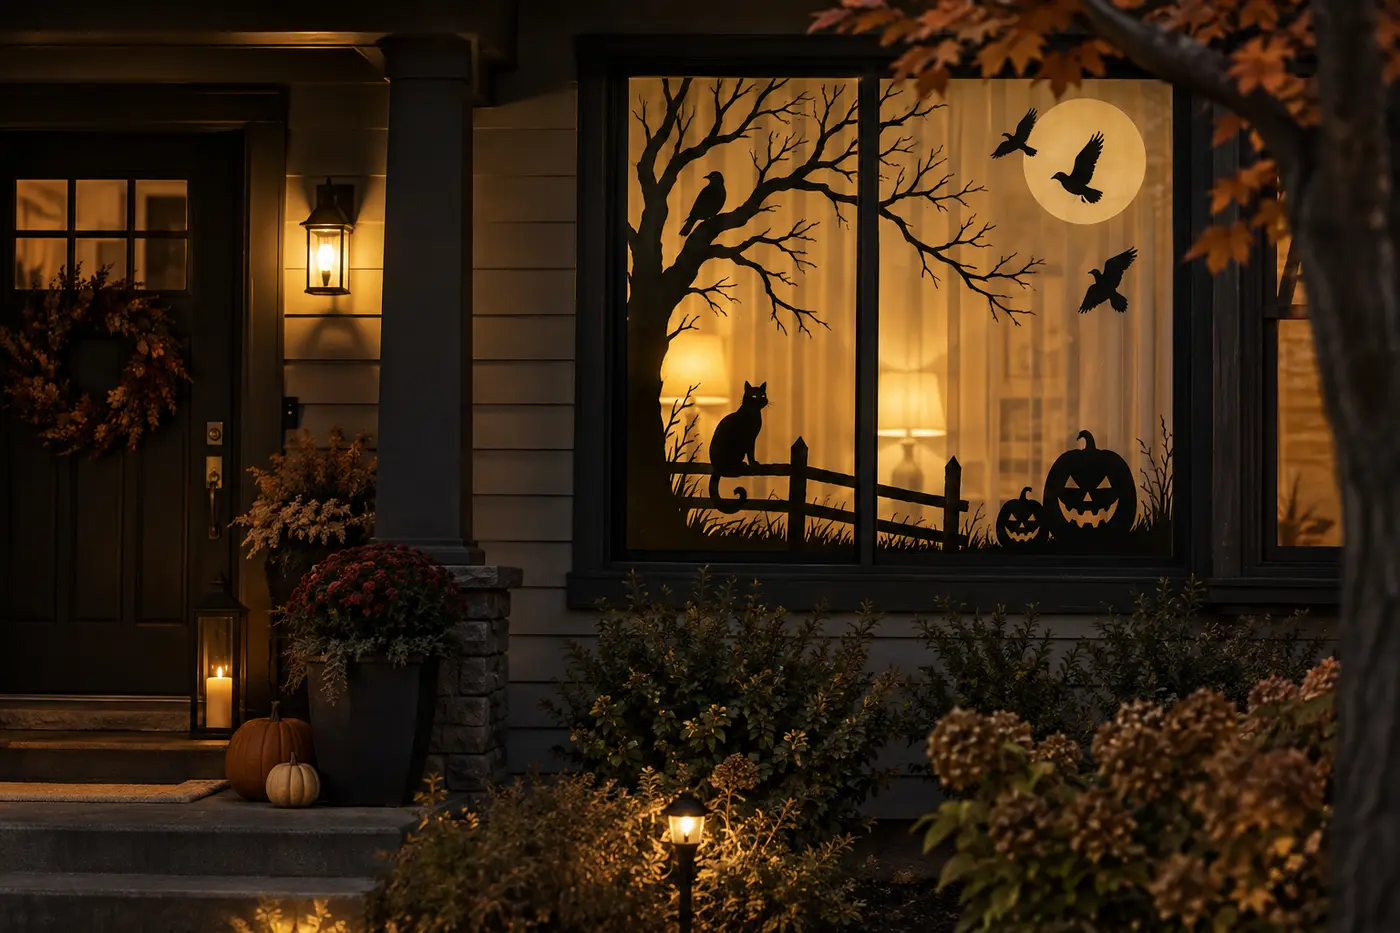
Window decals can cover a large blank area without requiring floor space or another bulky prop. The trick is making them read as one scene rather than a collection of individual stickers.
How to style them: Choose the window that is most visible from outside and build the entire display there. Group related shapes, vary their height, and use the window frame as a boundary. Dim the room and add a warm light behind the display so the silhouettes have more presence at night.
Avoid: Putting one small decal on every window. That spreads the impact too thin and can make the decorations feel random.
See the Halloween window decal set
7. Black Flameless Candles: Let Lighting Do the Heavy Lifting
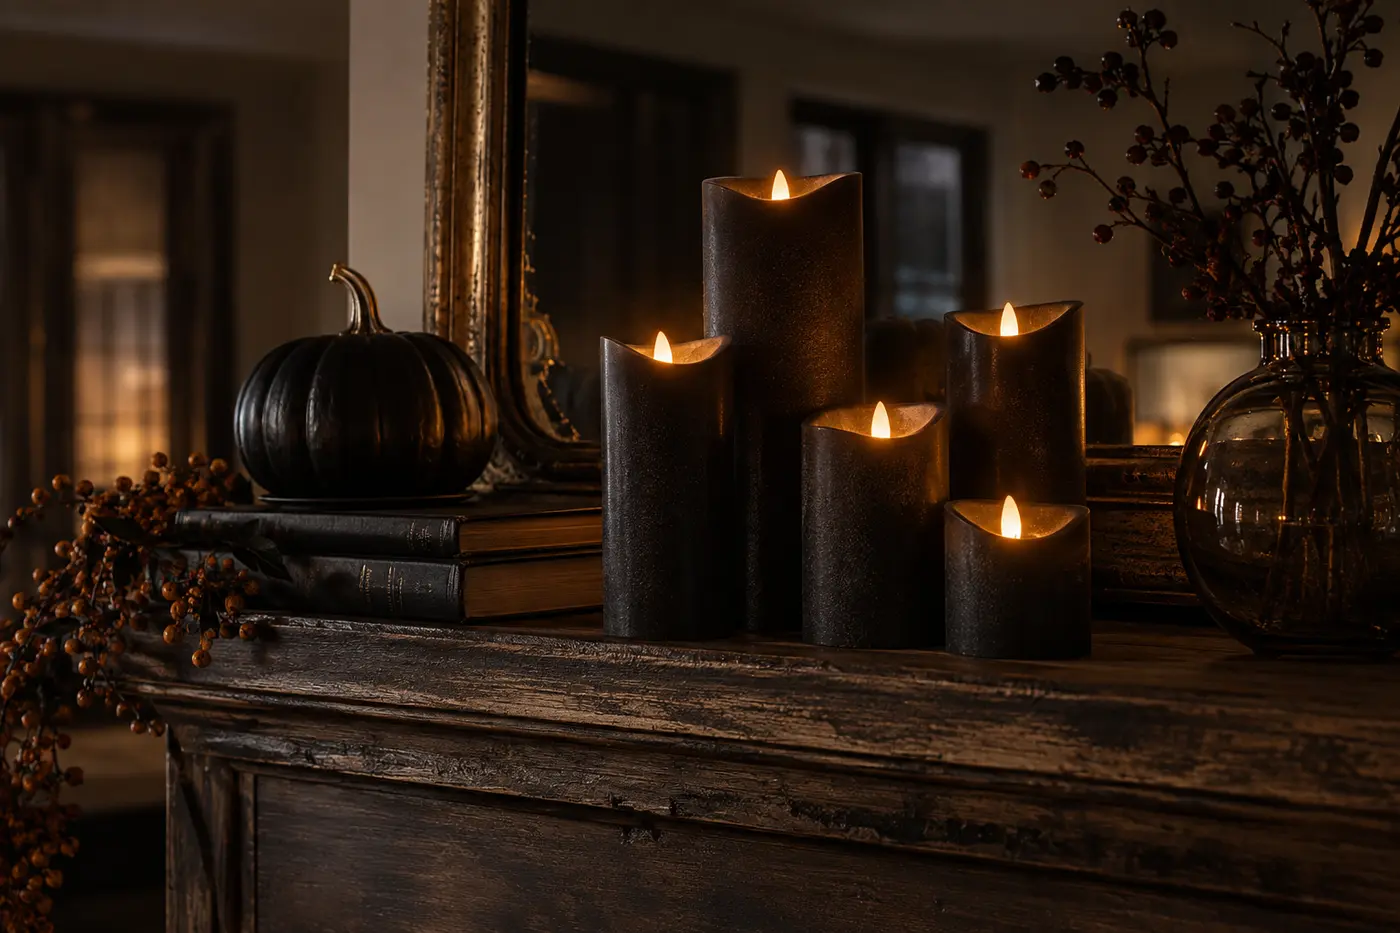
Lighting is one of the fastest ways to make affordable décor feel atmospheric. Black flameless candles add both the dark color palette and the soft glow that overhead lights cannot give you.
How to style them: Group candles at different heights, preferably in odd numbers. Place them beside stacked books, dark pumpkins, glass, or the raven figurine below. Turn off the bright ceiling light and let several smaller light sources create the mood.
Avoid: Placing identical candles in a perfectly even row. Varying the heights makes the display look collected. Follow the product’s placement and safety instructions, especially around fabric, children, and pets.
See the black flameless Halloween candles
8. Pumpkin Tealight Holders: Repeat a Shape, Not More Colors
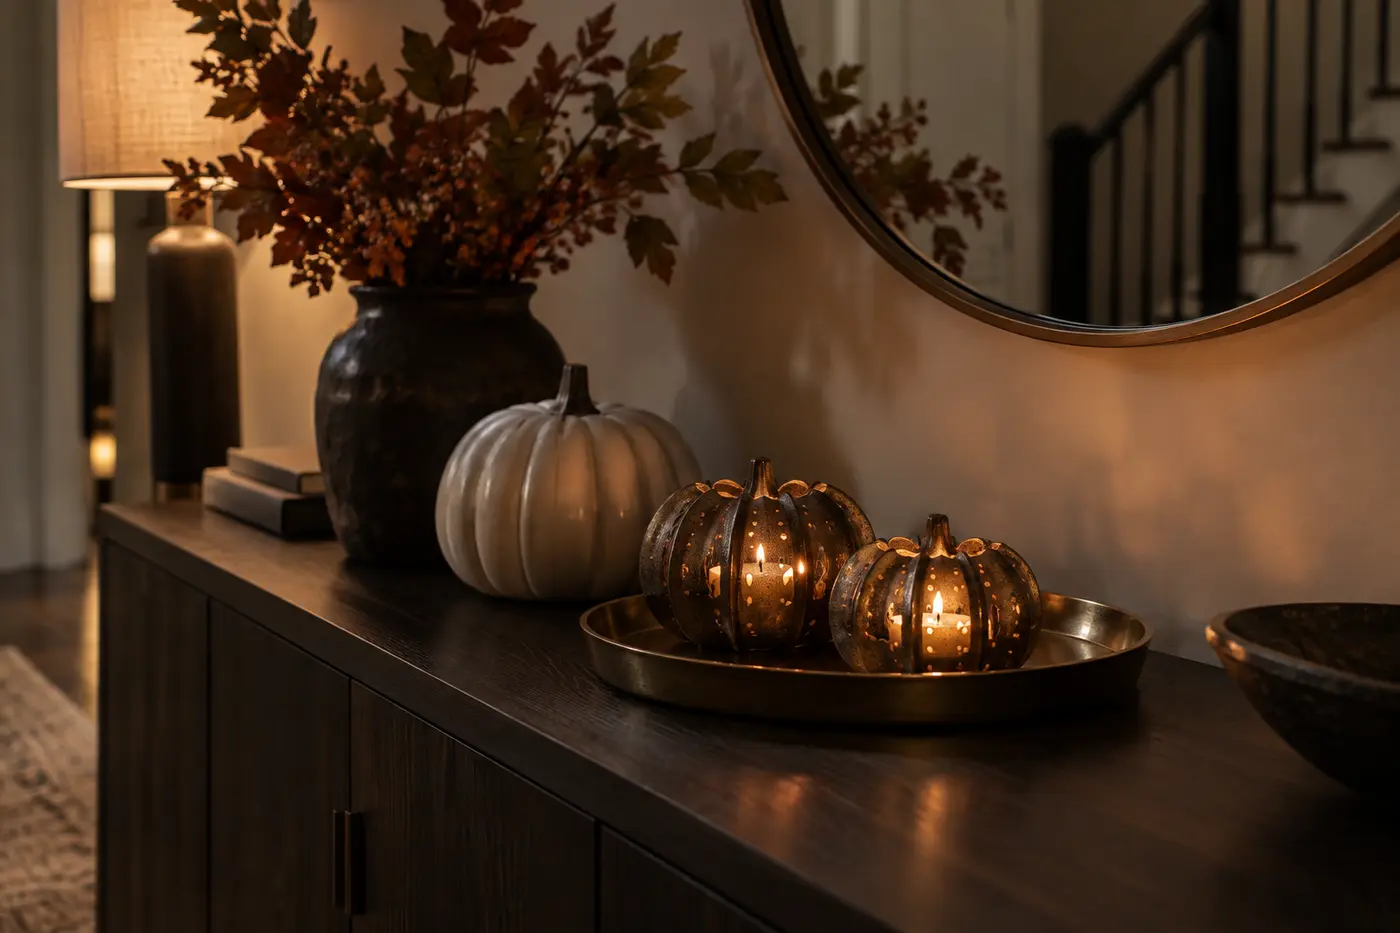
Pumpkin tealight holders are useful when you want décor that can bridge Halloween and Thanksgiving. Their warm glow can soften a black-and-white display and make a table, kitchen island, or shelf feel finished.
How to style them: Keep the surrounding palette restrained and repeat the pumpkin shape elsewhere in the room. Place the holders on a runner or small tray so they read as one grouped moment rather than separate knickknacks.
Avoid: Pairing them with several unrelated novelty pieces. Repetition makes affordable décor look coordinated; variety for its own sake usually makes it look busier.
See the pumpkin tealight holder set
9. Creepy Cloth: Drape It With Intention
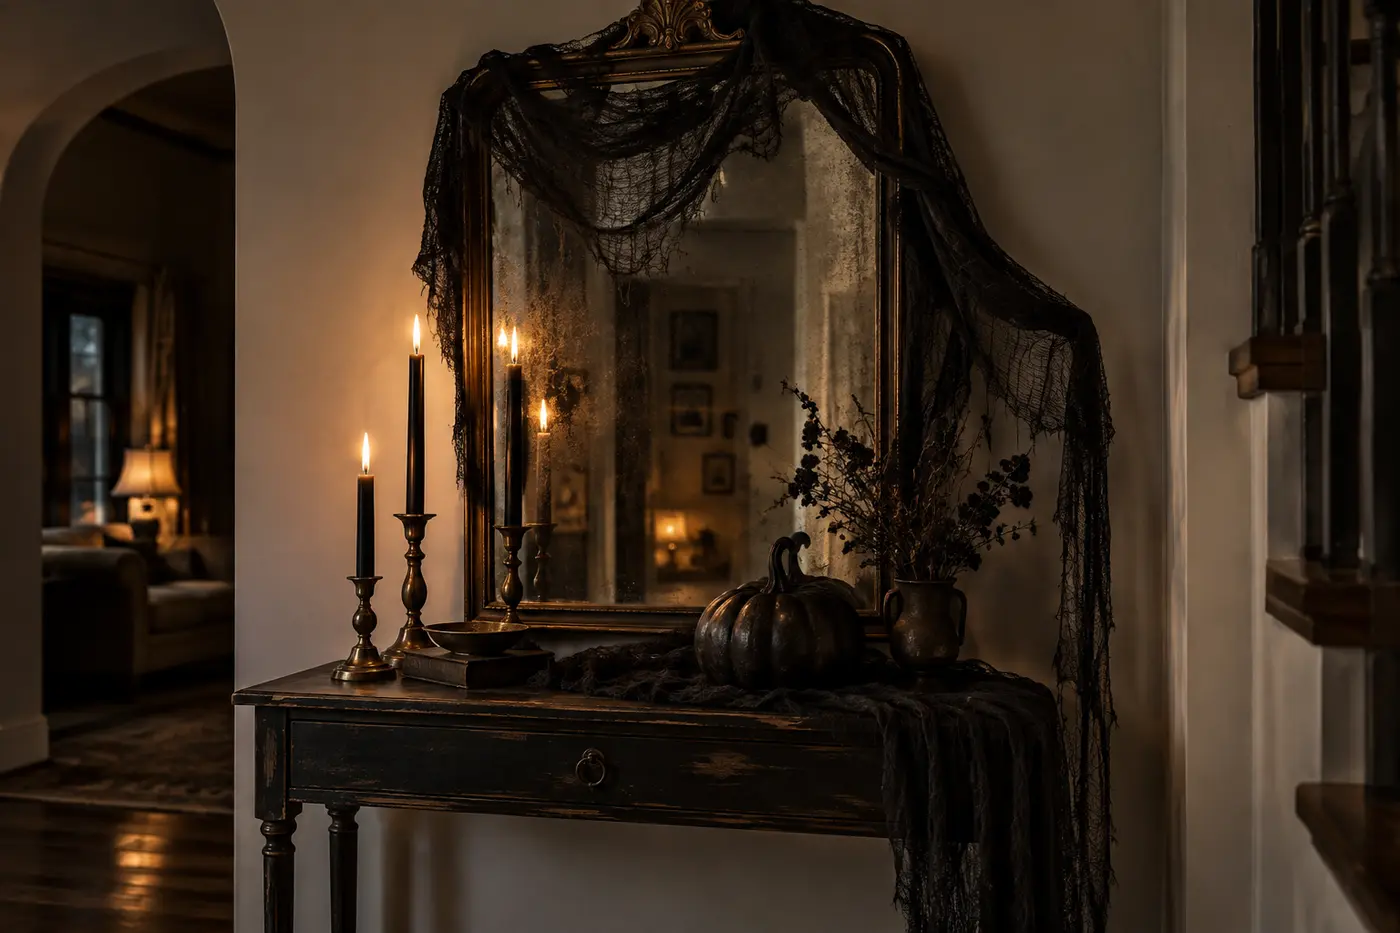
Creepy cloth is an inexpensive way to add age, depth, and movement to an otherwise flat display. It works behind a mantel arrangement, around a doorway, over a mirror, or across a plain table.
How to style it: Fold, bunch, and drape it so some areas are heavier than others. Let a few uneven sections hang down, then layer candles or a focal object in front of it. Concentrated texture looks richer than a single thin sheet stretched across the whole room.
Avoid: Pulling it perfectly flat and symmetrical. The uneven folds are what give it that old-house, theatrical look.
See the oversized creepy cloth and web set
10. Poseable Skeletons: Build a Tiny Scene
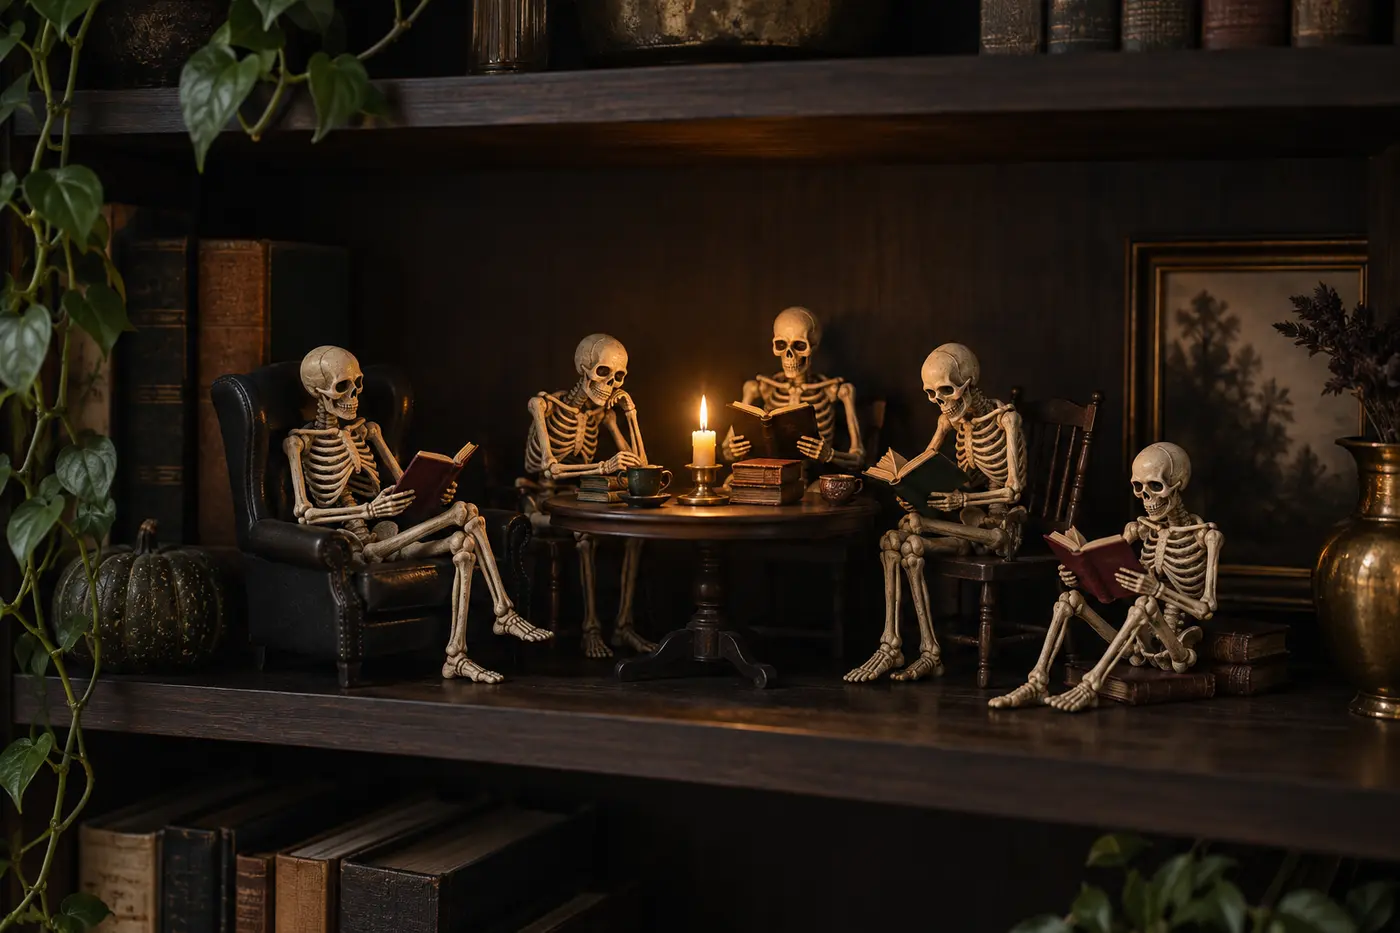
Small skeletons can lean playful rather than elegant, but a contained little scene makes them feel purposeful. The pose is what gets people to stop and look.
How to style them: Arrange the figures together on one bookshelf, tray, or small table. Give them a recognizable activity—reading miniature books, gathering around a candle, or climbing one stack of books. Use the same background and keep other novelty pieces out of the scene.
Avoid: Scattering one skeleton on every shelf. Keeping the full group together makes it feel like a styled vignette instead of leftover filler.
See the light-up poseable skeleton set
11. Stretchable Spiderwebs: Less Is More
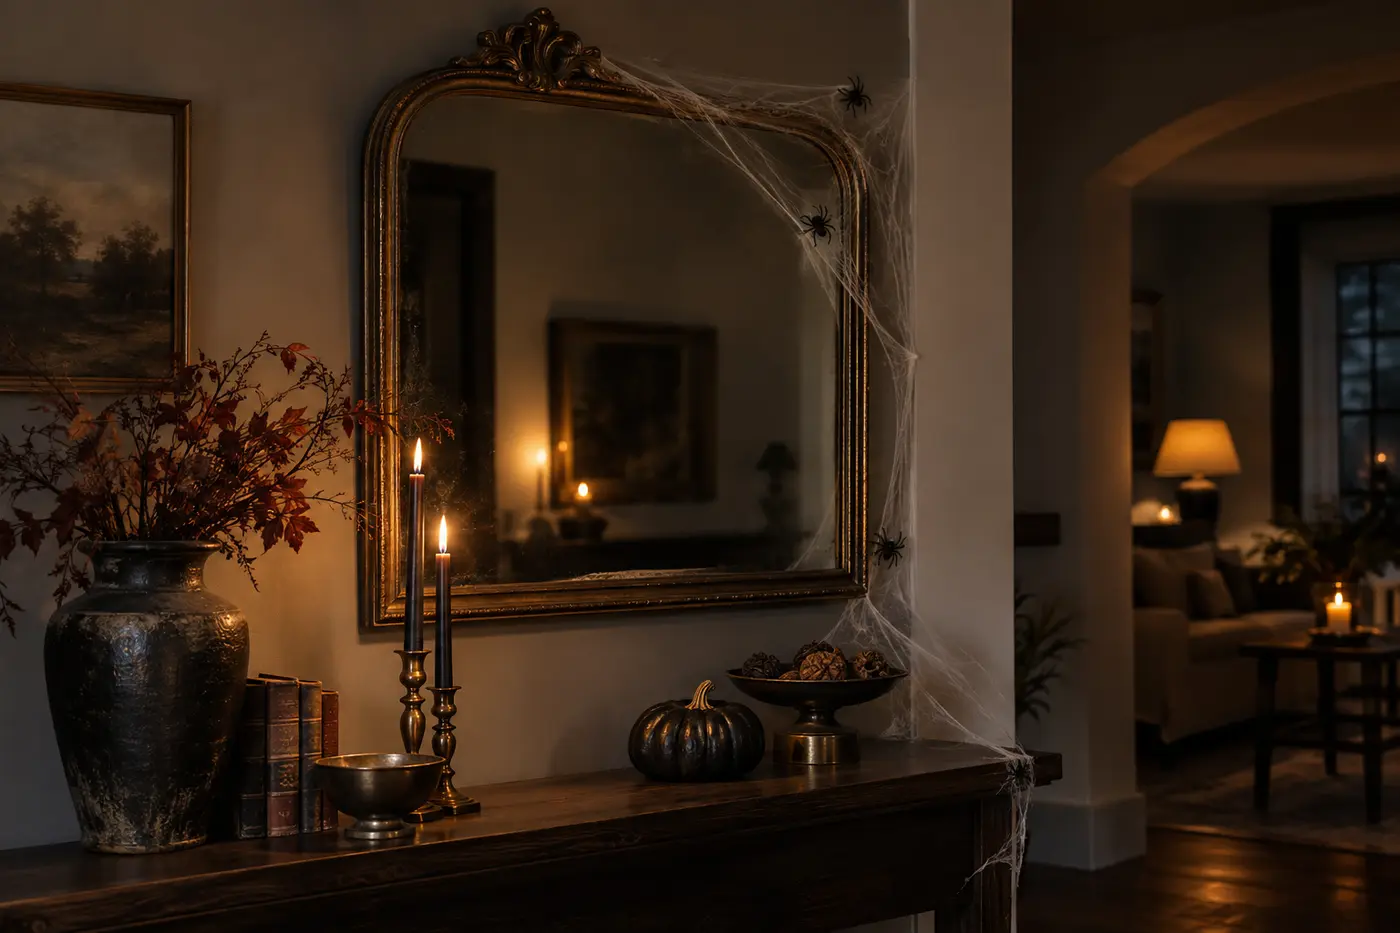
Stretchable webbing can connect decorations and fill an awkward corner, but it looks best when it is pulled extremely thin. Thick clumps are usually what make artificial webbing look cheap.
How to style it: Use a small amount around one mirror, shelf, stair rail, or doorway. Pull it into fine, irregular strands and anchor it around the edges of the focal area. Add only a few spiders where they will actually be noticed.
Avoid: Covering every surface. Remove webbing promptly after the season and keep it where children, pets, and wildlife cannot become tangled.
See the stretchable spiderweb and spider set
12. Worth Checking Back On: Raven-on-Skull Figurine
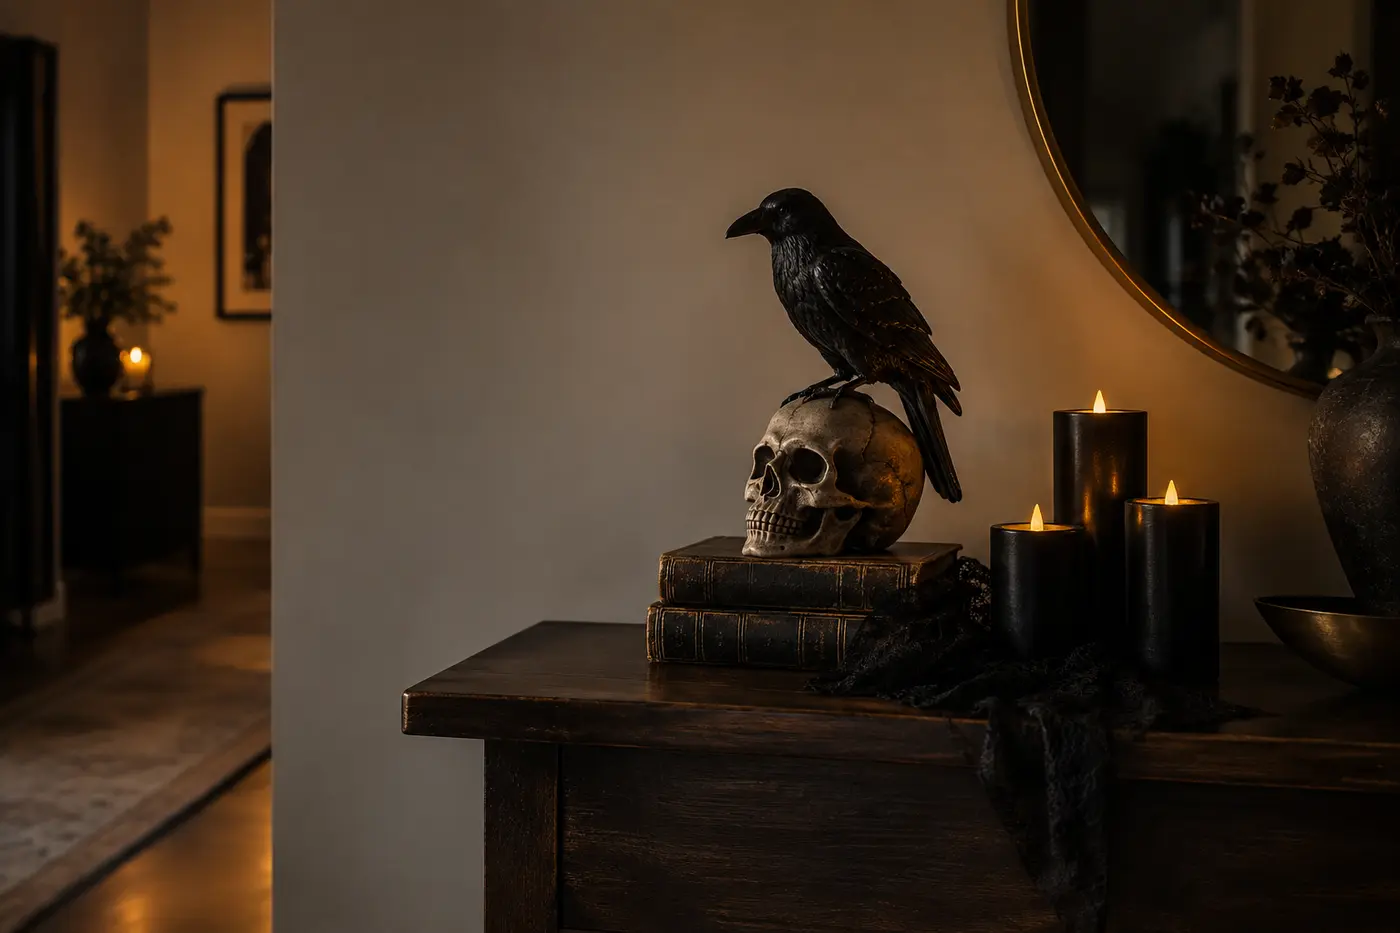
A raven-on-skull figurine has the moody, old-library look that works beautifully on a mantel, bookshelf, or entry console. It was unavailable when this guide was prepared, so I would not plan the whole display around it—but it is worth checking again if this is the style you want.
How to style it if it returns: Give it a place of importance on top of two dark books or beside a small stack. Add black flameless candles and a little lace or creepy cloth, then leave open space around the arrangement. One strong figurine looks more collected than several small statues crowded together.
Check whether the raven-on-skull figurine is back in stock
Three Expensive-Looking Combinations Without Buying All 12
For a Moody Mantel
Start with the black lace runner. Add black flameless candles at different heights, then send the lighted bats upward beside the mantel or mirror. Keep the rest of the surface mostly open.
For a Polished Entryway
Use the gothic wreath as the main statement. Repeat its black color with candles or ribbon, then add the lighted fall garland for warmth. If you use pumpkin tealight holders, group them together rather than placing them on both sides.
When Halloween is over, keep the same wreath and tie a pumpkin wreath sash across it. The entryway moves straight into Thanksgiving without buying a second wreath.
For a Playful Shelf That Still Looks Styled
Build one skeleton scene on a tray or single shelf. Use creepy cloth as the background and just a few fine strands of webbing around the edges. Keeping the scene contained is what prevents it from taking over the room.
What to Check Before Ordering
Actual measurements—not just staged listing photos
Indoor or outdoor placement instructions
Power source, batteries, cords, and timers
Included mounting hardware or accessories
How much storage space the item will need after Halloween
Current delivery estimates and availability
The Real Trick Is Knowing When to Stop
The goal is not to make your house look like you bought an entire Halloween aisle. It is to make one or two areas feel finished. Start with the piece that solves the biggest visual problem, add texture and low lighting, repeat a limited palette, and leave enough empty space for the best pieces to stand out.
That is the difference between affordable décor that simply fills a room and affordable décor that actually looks expensive.
Want a few good deals a day? I share Walmart and Amazon finds families actually use in my free Facebook group.
Join Real Life with Alyssa: Deals & Finds →